

Leveling the Flashforge Adventurer 3 3d Printer
Cory Rylan
- 3 minutes
The Flashforge Adventurer 3 is an excellent beginner 3d printer. I purchased this printer as my first printer. While compact and easy to use, it does face some challenges with bed leveling.
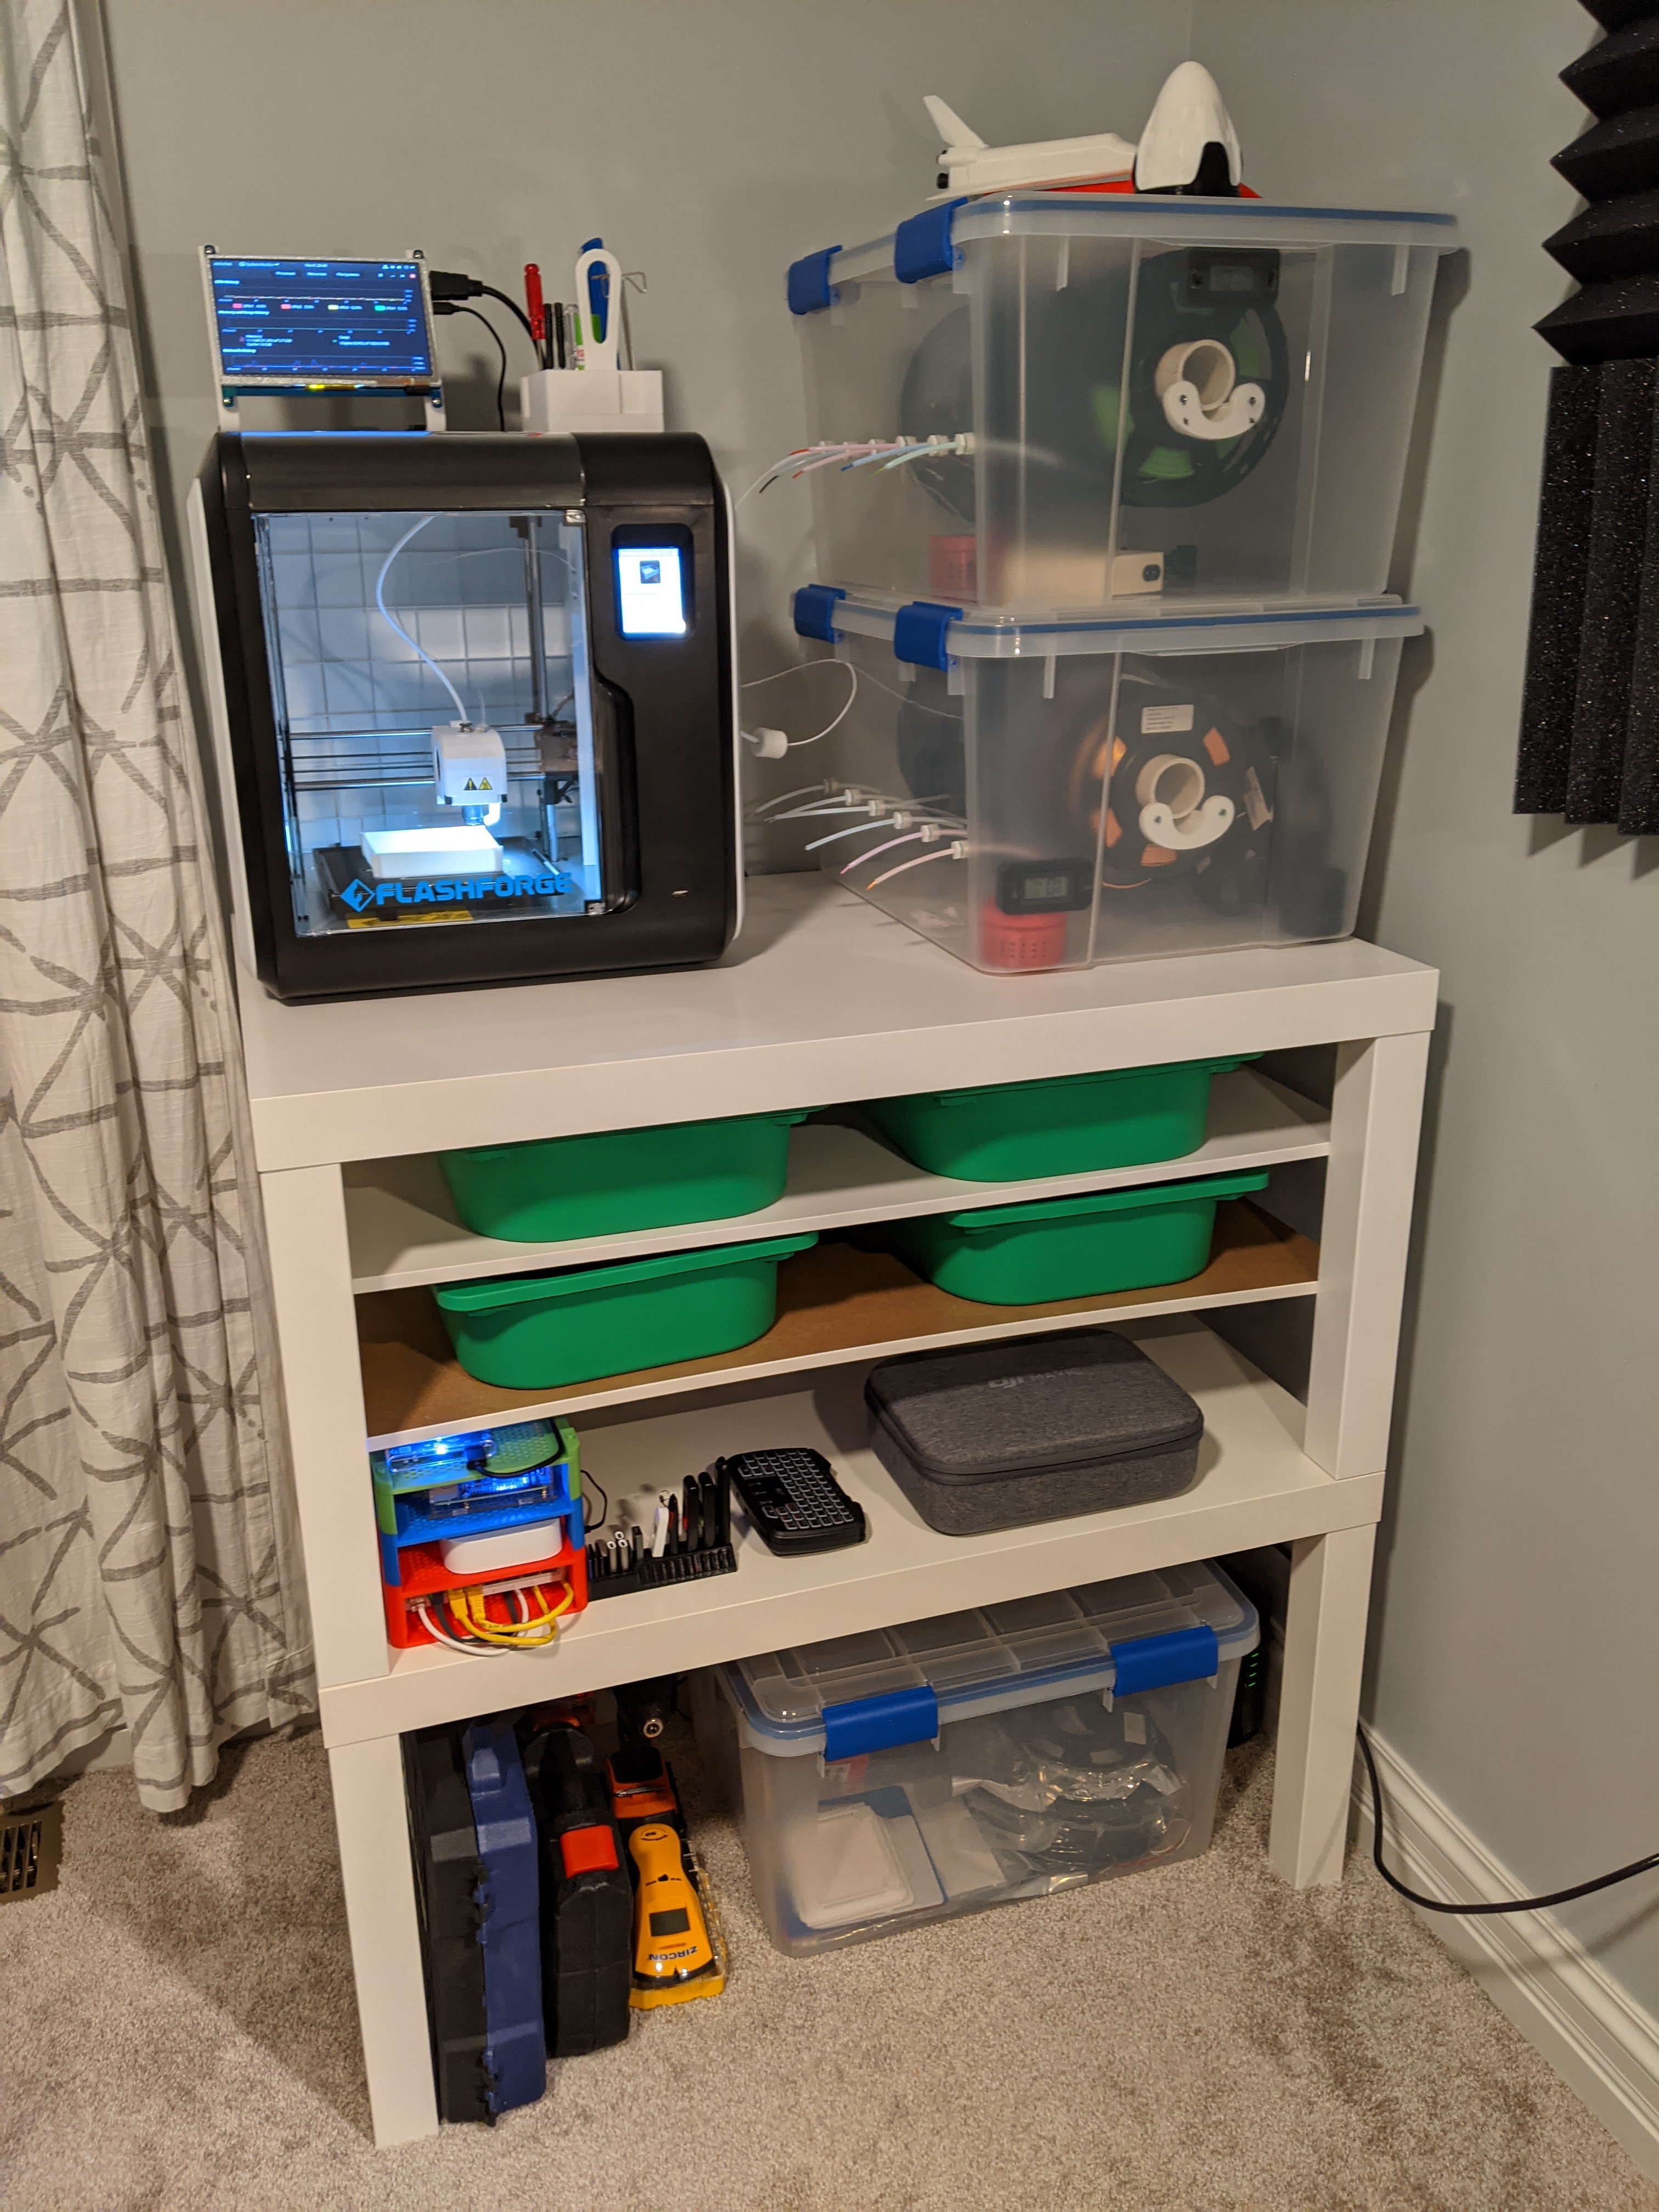
With 3d printing, the bed surface is essential to calibrate to get successful prints. The Adventurer 3 has a removable and flexible bed. This makes it easy to remove prints. After a while, beds can become un-level which causes prints to not adhere to the bed. This results in failed prints.
For Adventurer 3, the bed leveling is not specific to moving the bed but using the software to calculate the offset differences on the bed. In the Adventurer settings, you can calibrate by using the 9 point calibration system.
The printer head will move to 9 points on the bed surface. Using a piece of paper, lower the print head into each spot until it causes slight resistance on the paper. Regular printer paper should be thick enough. If you want to be precise, you can use a feeler gauge. I found 0.25mm to work best.
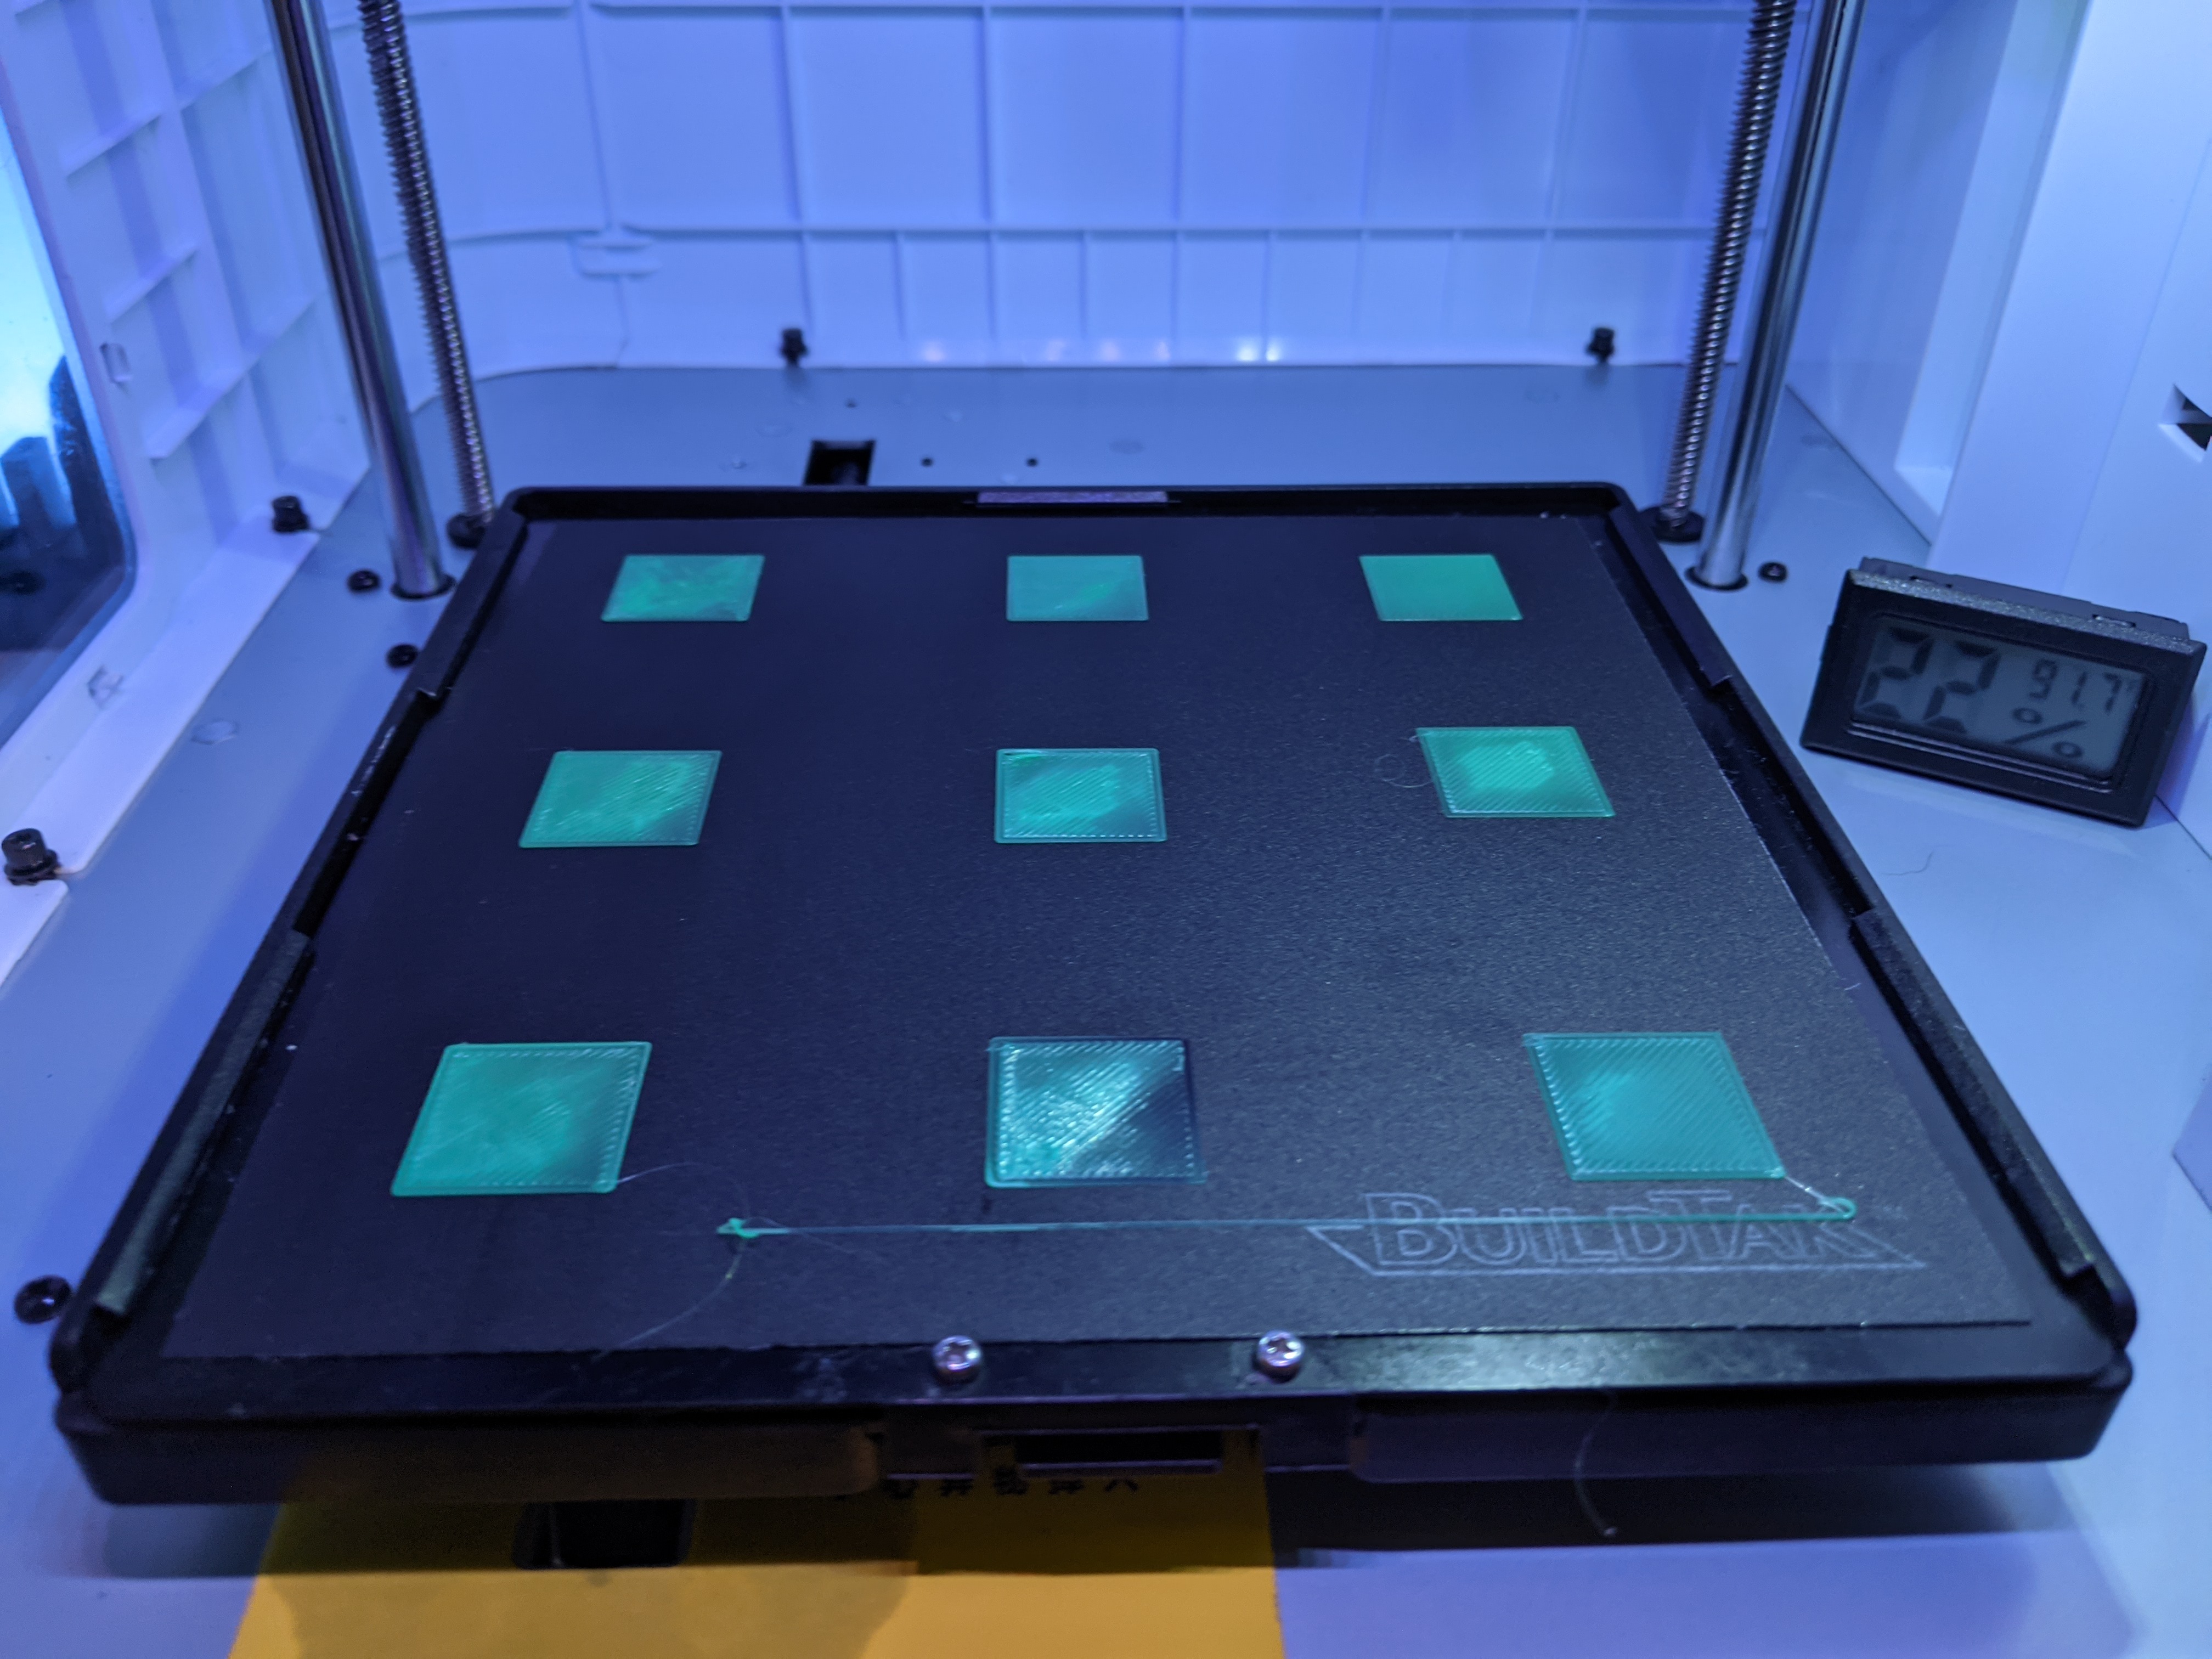
Once calibrated, I use this print test, designed to print nine squares across the bed to ensure its level.
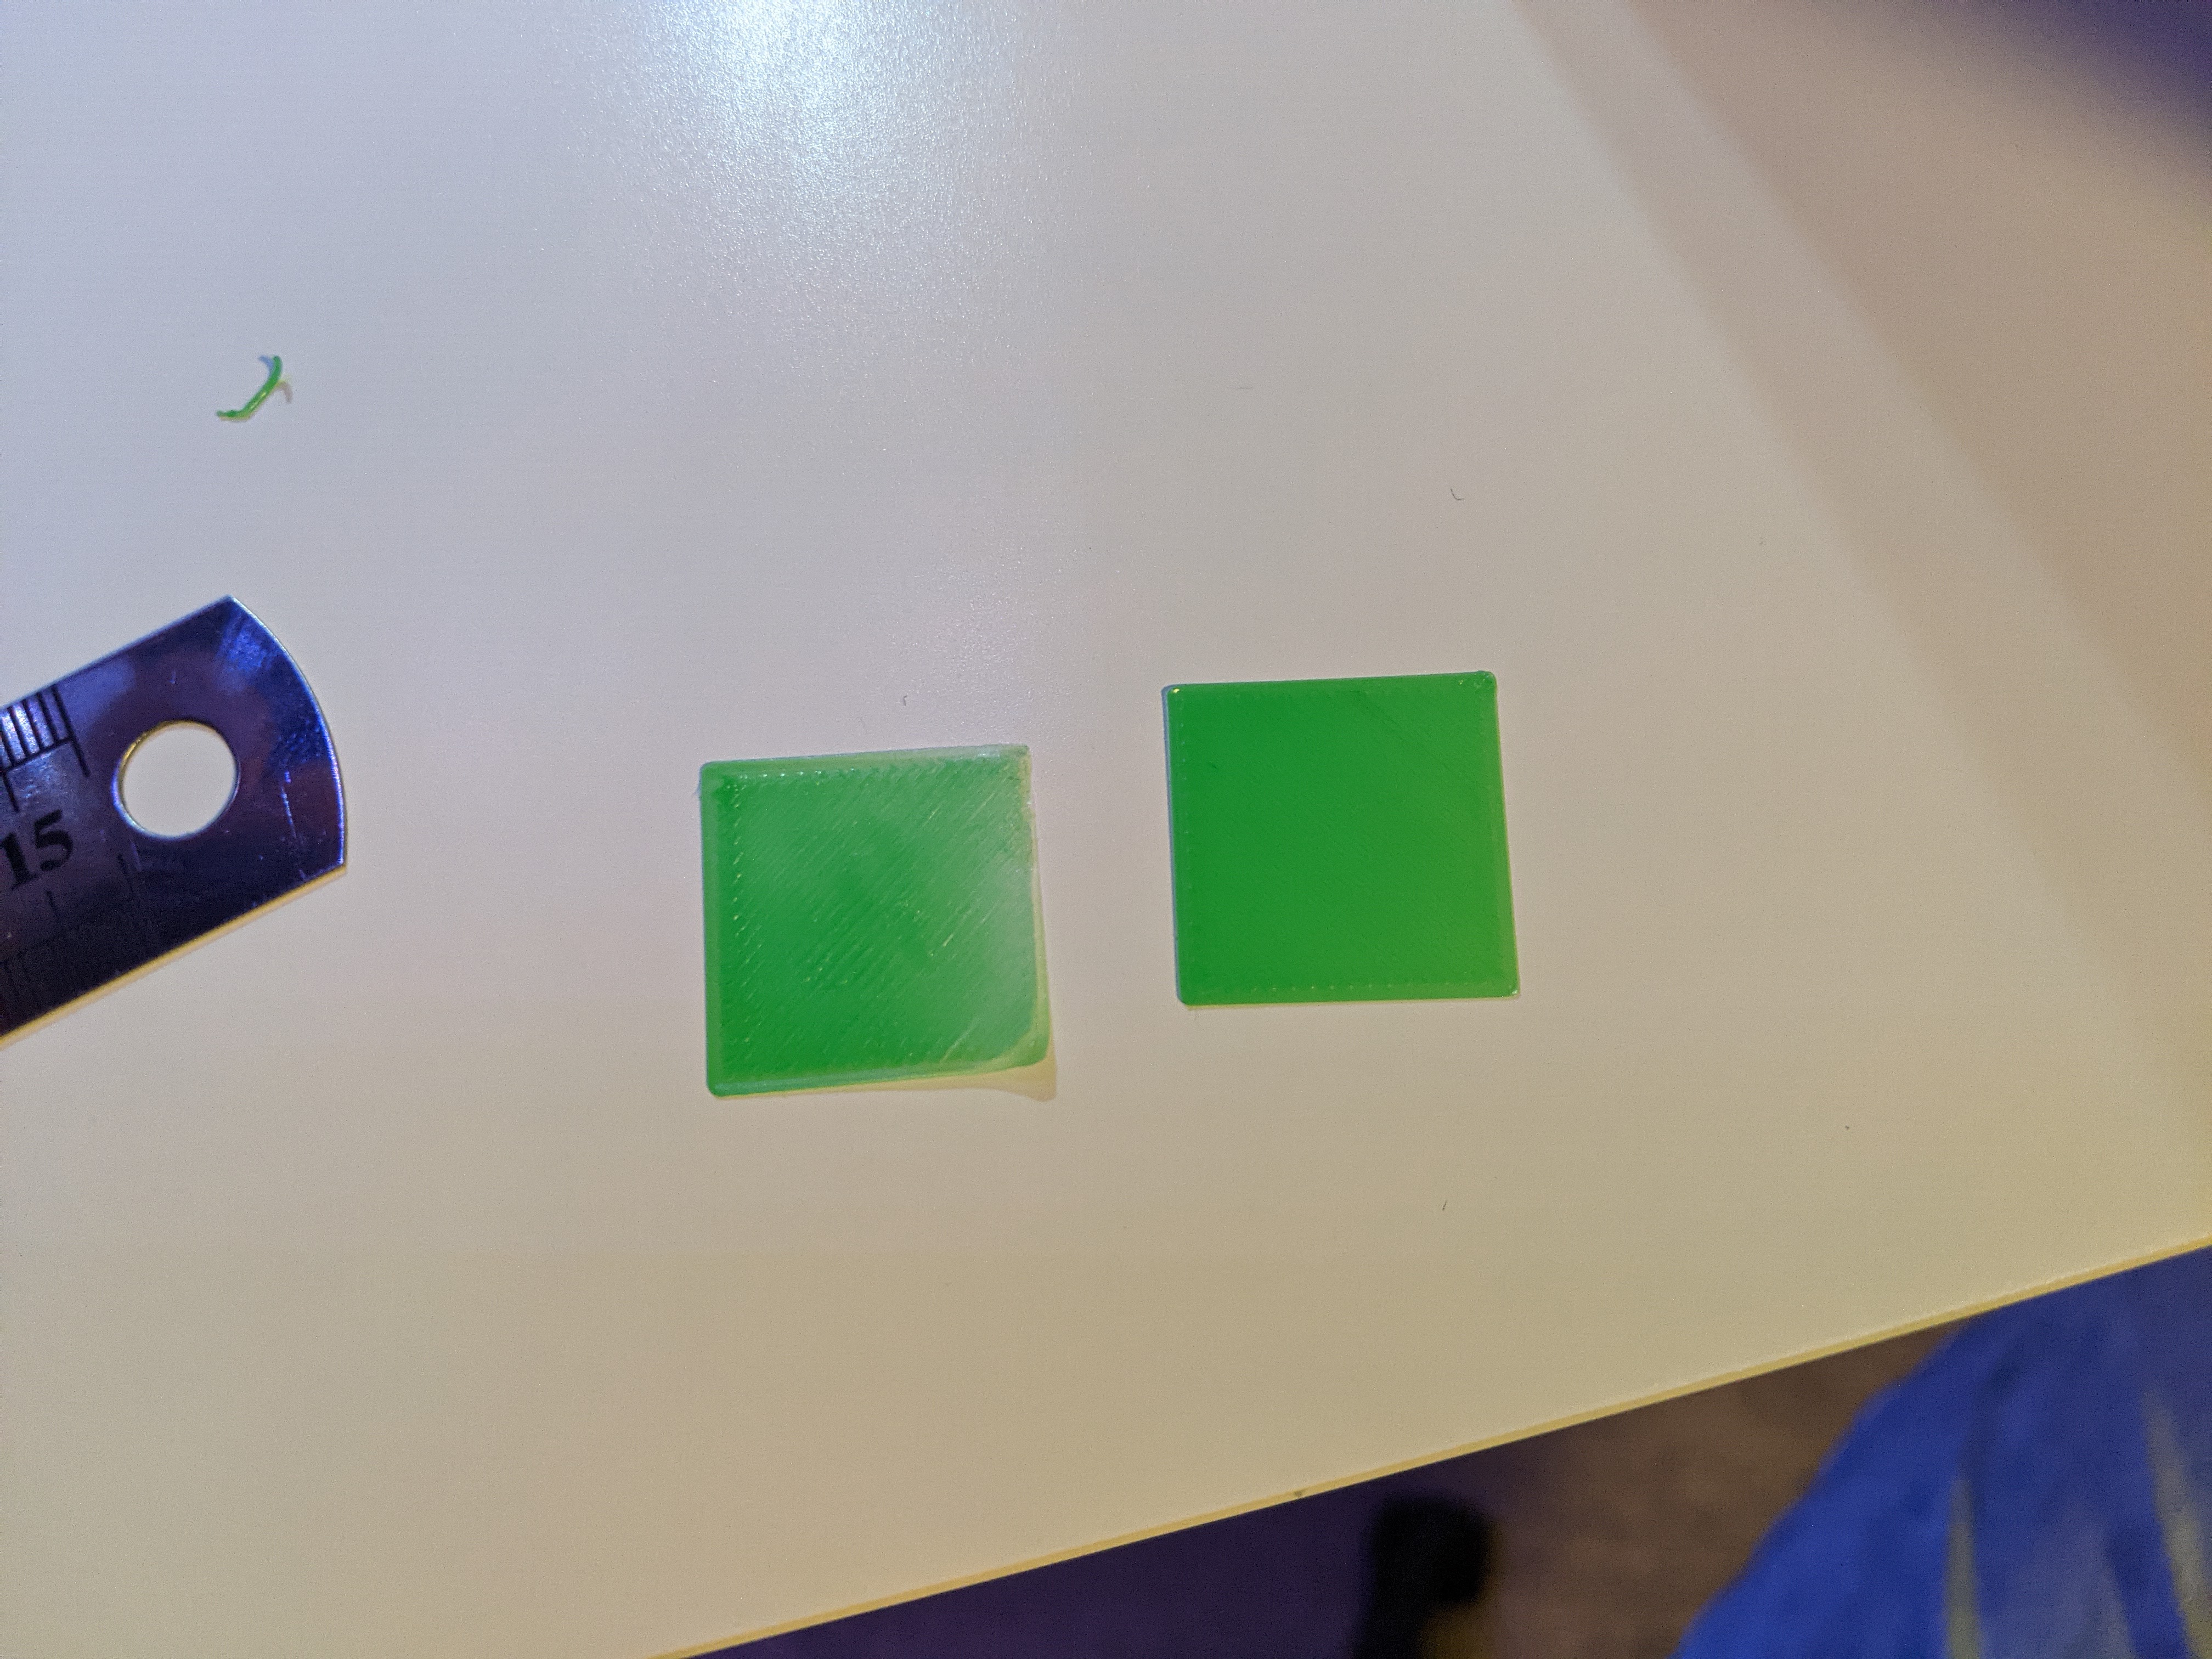
If calibrated correctly, you should get a solid colored square (right). If the square is semi-transparent, it's likely set to low (left).
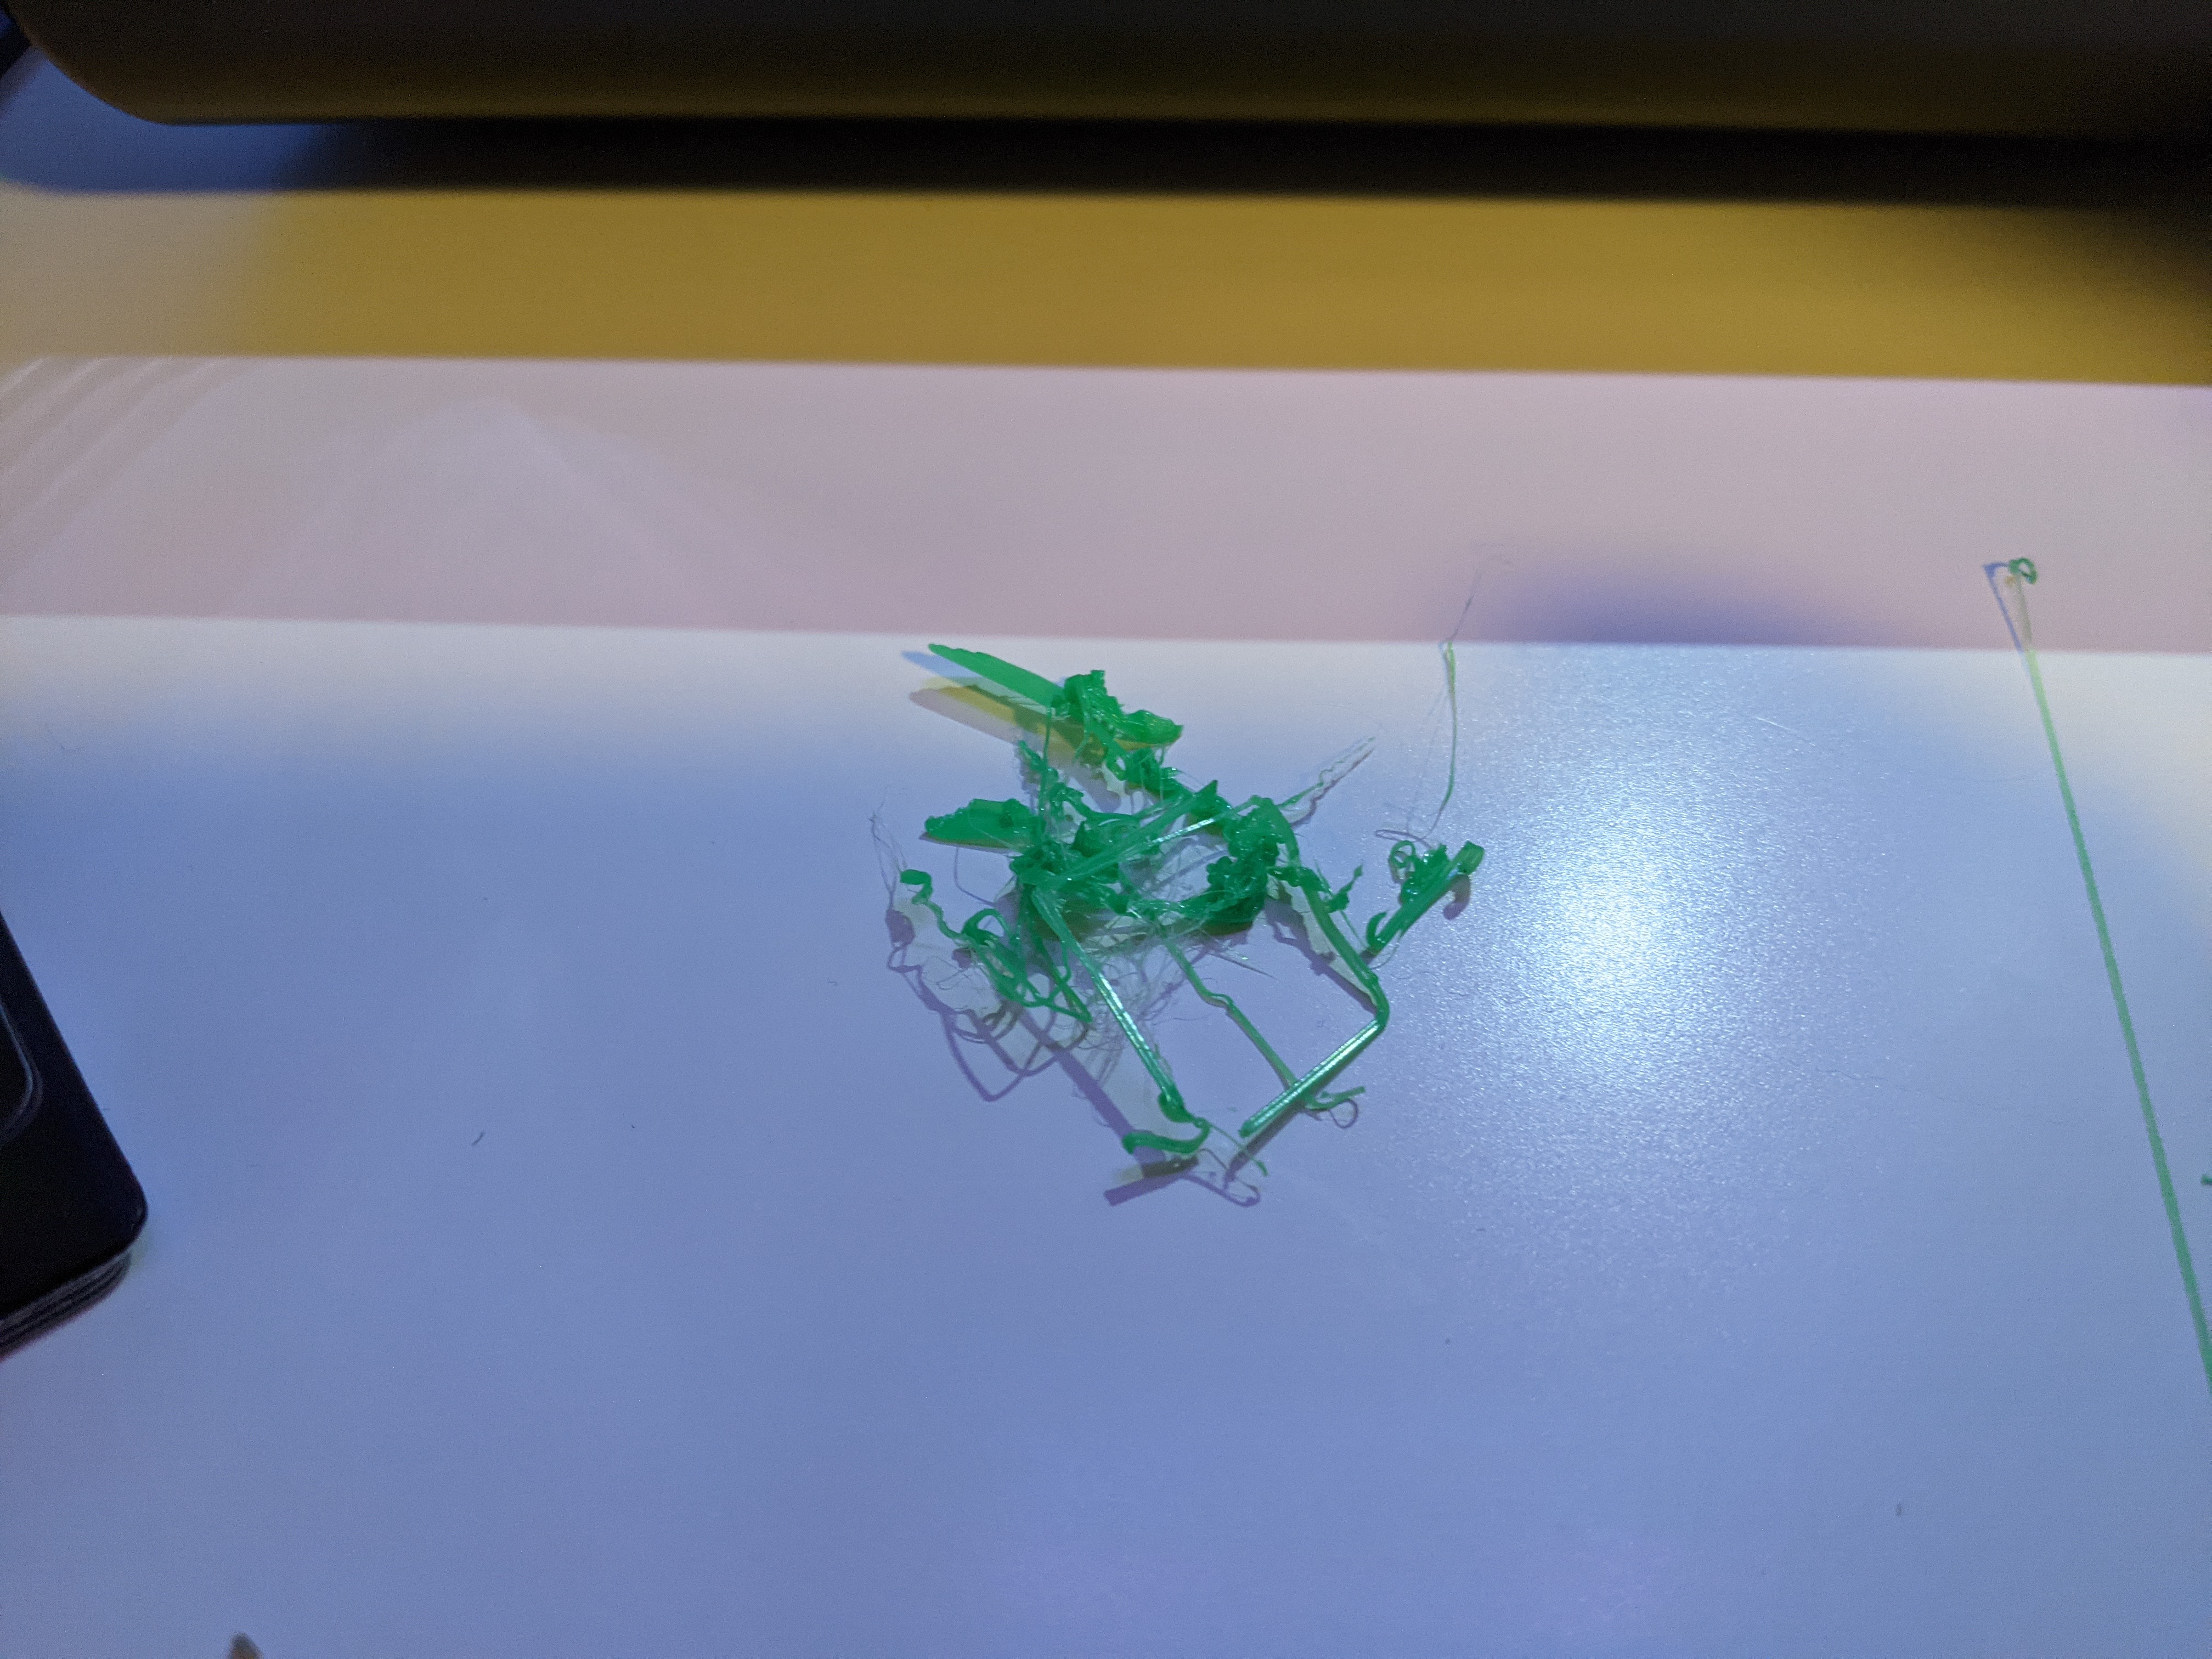
If calibrated too high, then the material will not stick to the bed at all.
When using the print test, write down each square coordinate if it should be moved up or down by one increment at a time.
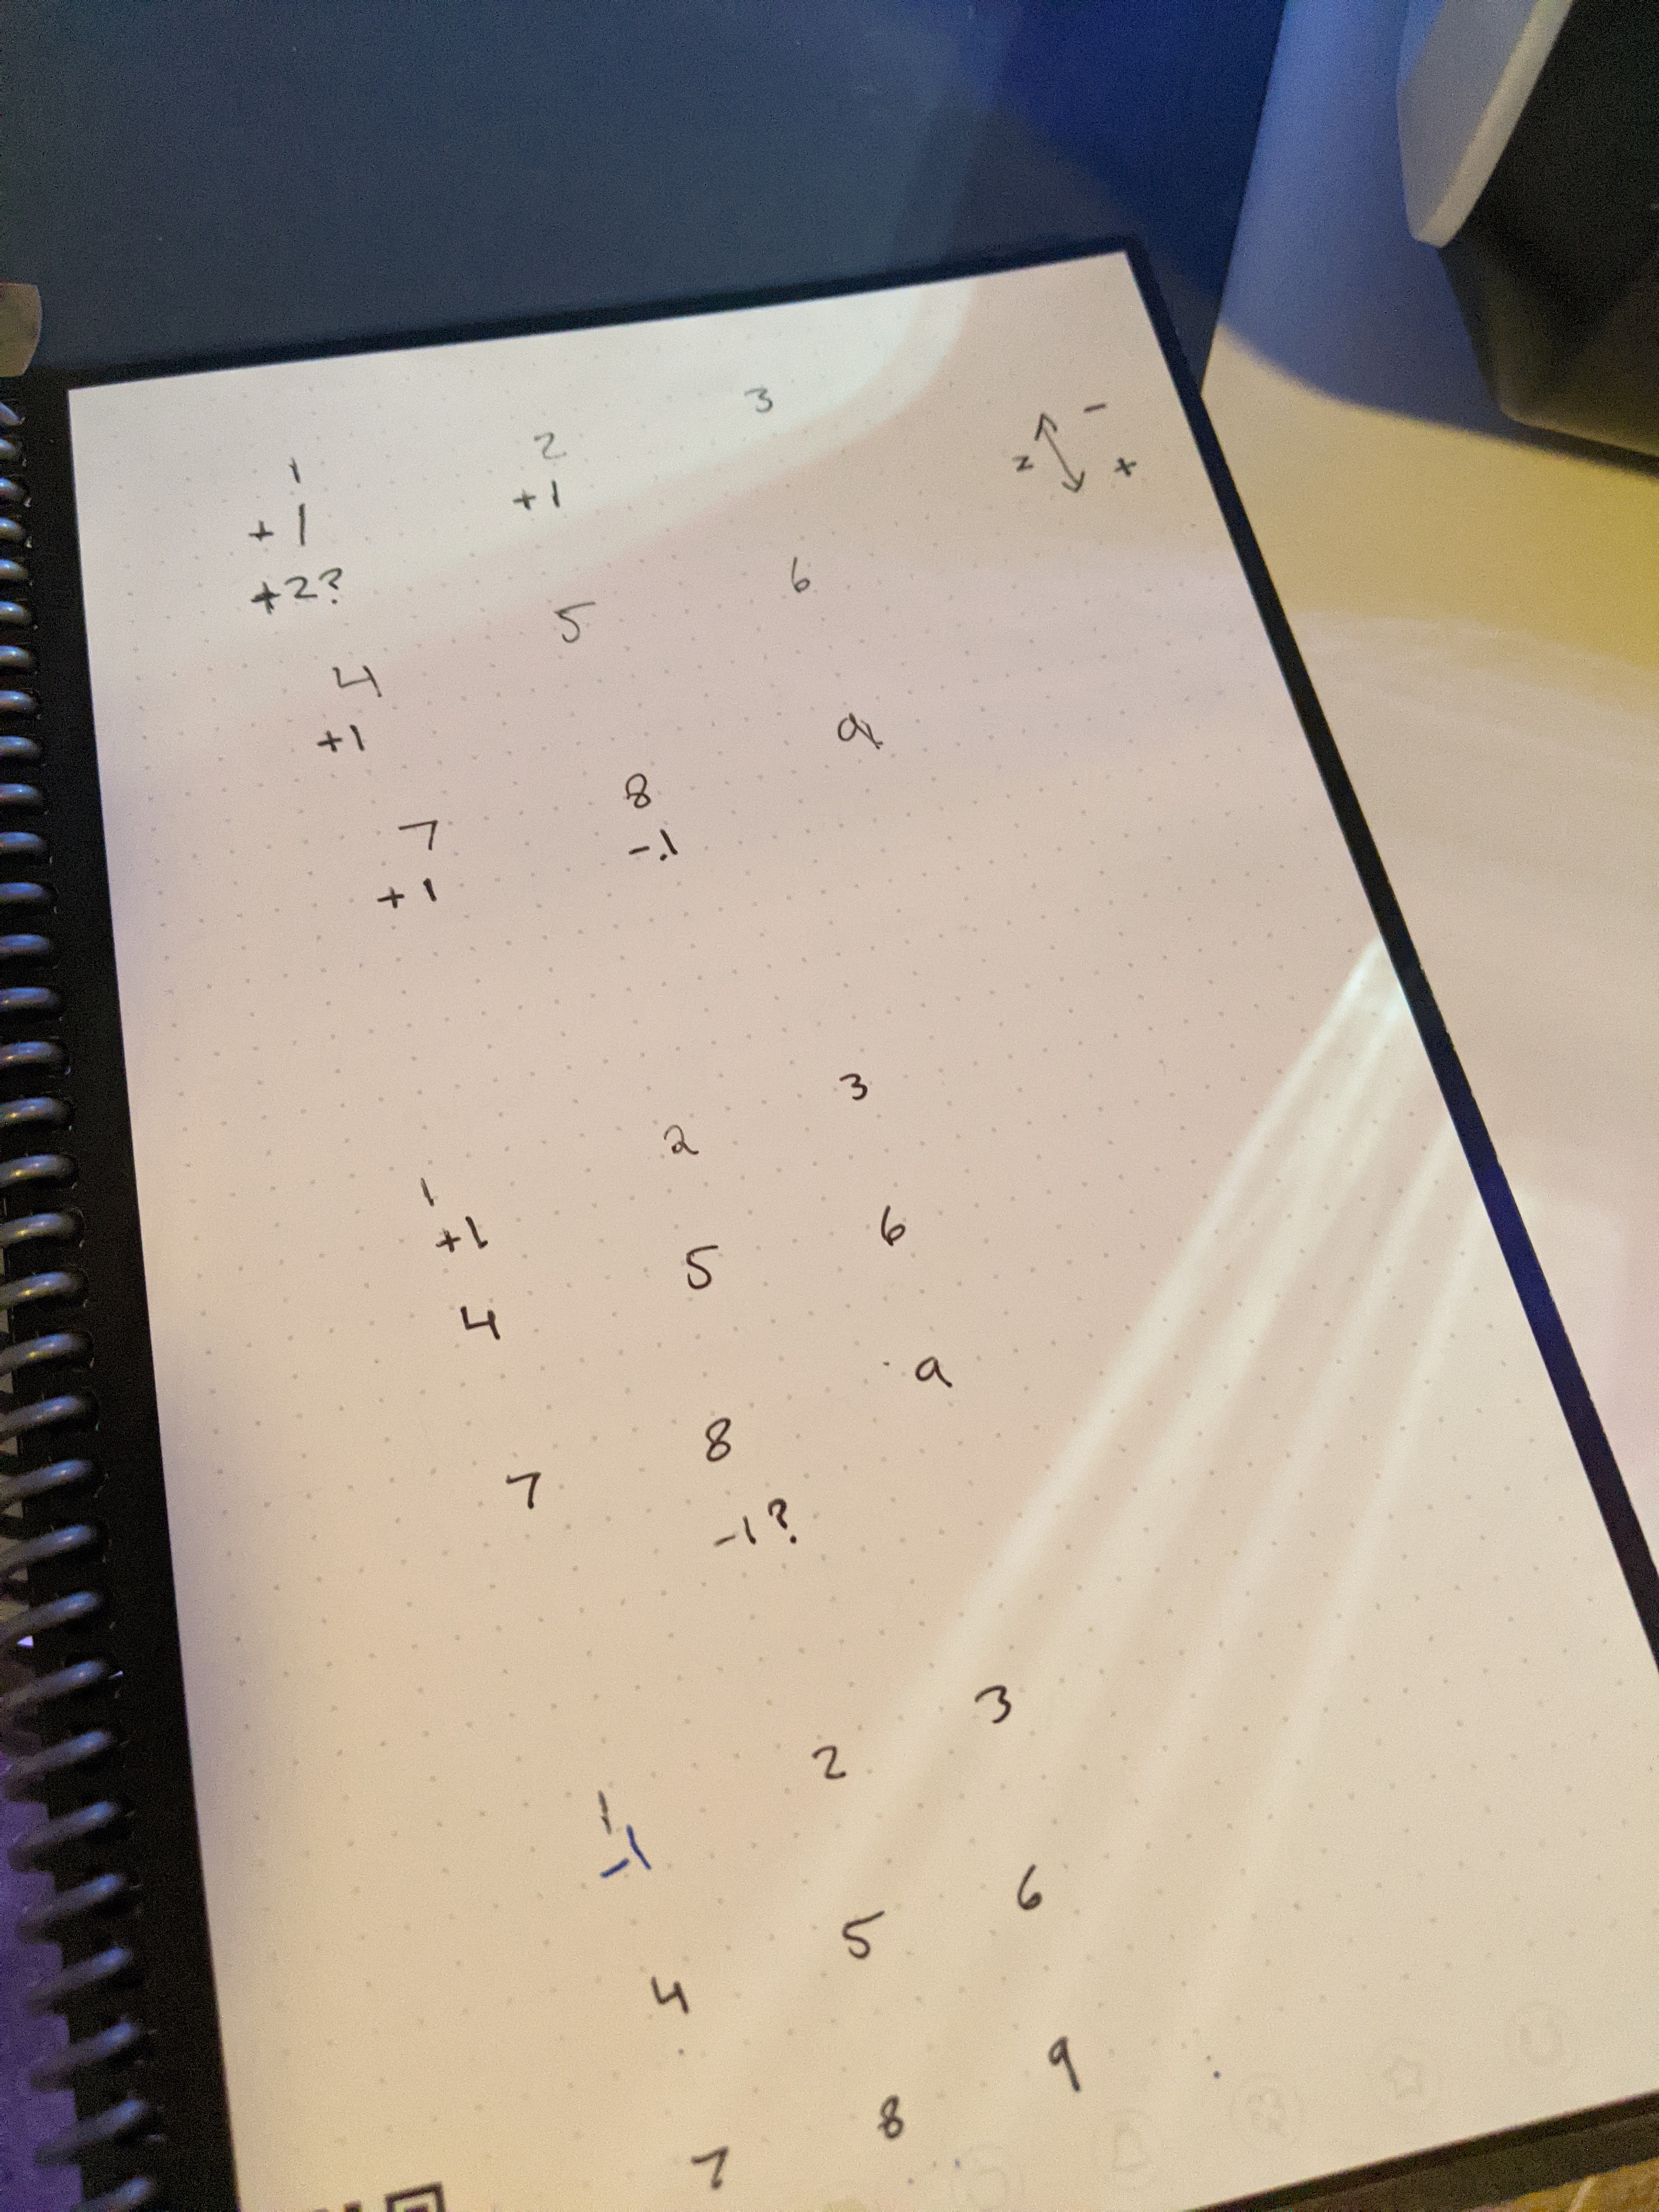
This will allow you to recalibrate until all nine are correctly printing. After a few hundred hours, I found the bed that comes with the printer tends to wear out, and prints fail to stick. There are a couple of options. You can buy a replacement bed. I would only do this if you suspect the bed itself to be warped.
What helped my prints stick is replacing the bed surface with BuildTak. BuildTak is a 3d printing surface. The sheets are cut to size and are peel on stick. However, you must remove the old surface from the printing bed, which was pretty tricky due to the amount of glue on the original bed surface. Once done, the Buildtak worked much better than the stock surface.


%20--%3e)
%20--%3e)