How to Install Acoustic Foam
Cory Rylan
- 6 minutes
As a full-time remote worker, I try to make sure I have an ideal home office to be productive. I often take video calls or record screencasts and want to ensure I have high-quality audio. Getting high-quality audio recordings can be tricky. Many factors determine audio quality, such as recording software, microphone, and where the recording is taking place. In this post, I wanted to show how I used Acoustic foam to dampen and improve the audio of my home office.
Acoustic foam is often used when recording audio to improve quality. The room can have just as much of an impact on audio quality as an expensive microphone. The acoustic foam helps absorb different sound frequencies and prevents the sound from reflecting or bouncing back into the microphone. Reflection is what causes an echo or hollow like sound in the audio. Acoustic foam, however, does not soundproof the room!
Having Acoustic foam can help absorb echo when speaking into our mic. Typically for audio where you are speaking, you will want to place the foam panels directly in front of you.
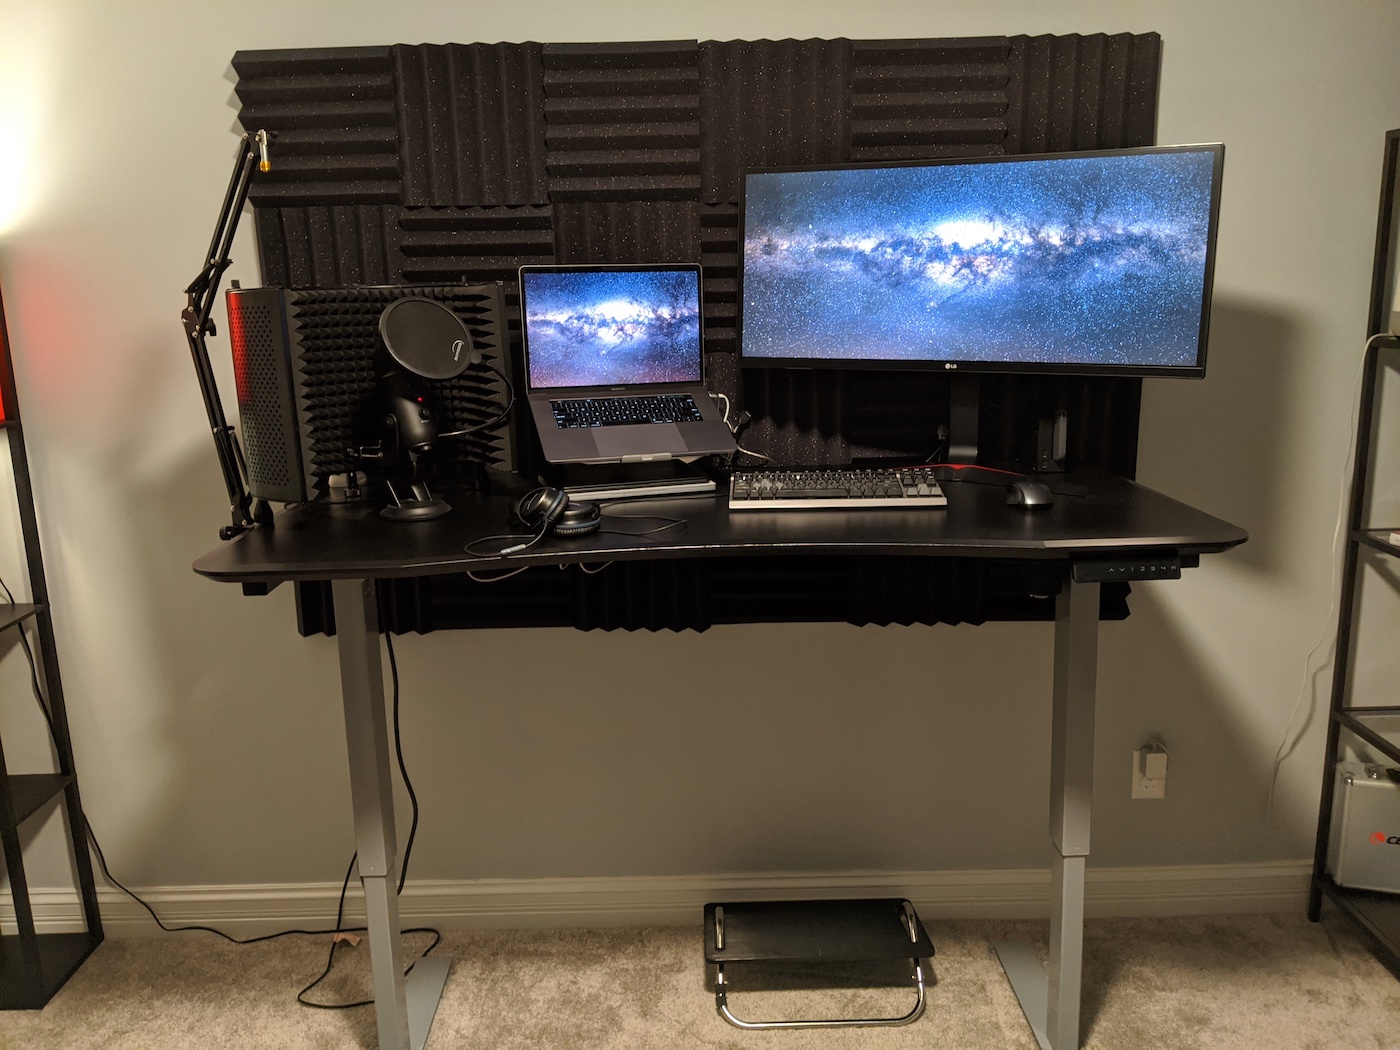
This picture is my setup in my home office. There are a few more panels on the wall directly behind me as well. Here are the steps I took to install them in a way that allows me to remove or adjust without damaging the wall.
Step 1 - Installation Setup
To install the Acoustic foam panels, I wanted to make sure I could easily move them if needed. To do this, I needed a way to mount the foam tiles onto something lightweight and easily movable. I ended up using Foamboard to attach the panels. To create this setup here is a list of the needed supplies:
- Acoustic Foam Tiles (minimum of 6, 12x12 inch tiles)
- Spray Adhesive (1 can)
- Foam Board (min size of 20x30 inches)
- Sawtooth Picture Hangers (minimum 1)
You also will need the following tools:
- Hammer
- Small nails
- Tape Measure
- Level
Step 2 - Align and Glue
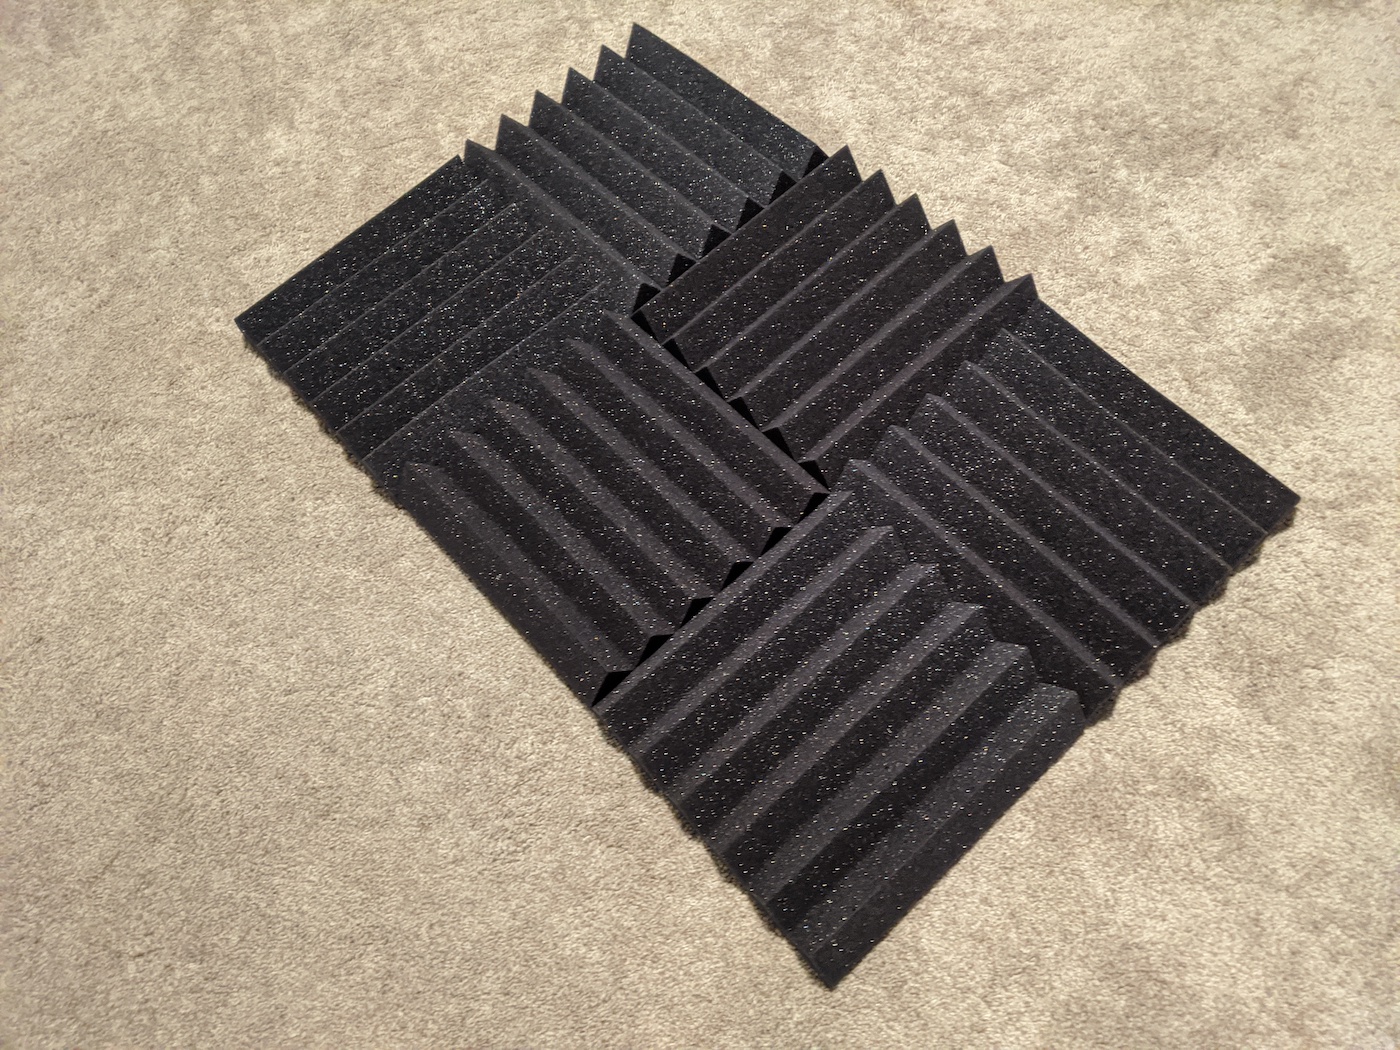
To create a single removable panel, you will need at least six Acoustic foam tiles. I used the 12-inch square panels with a 2-inch thick foam from SoundAssured. Anything less than 2 inches in thickness will be less effective at absorbing the sound.
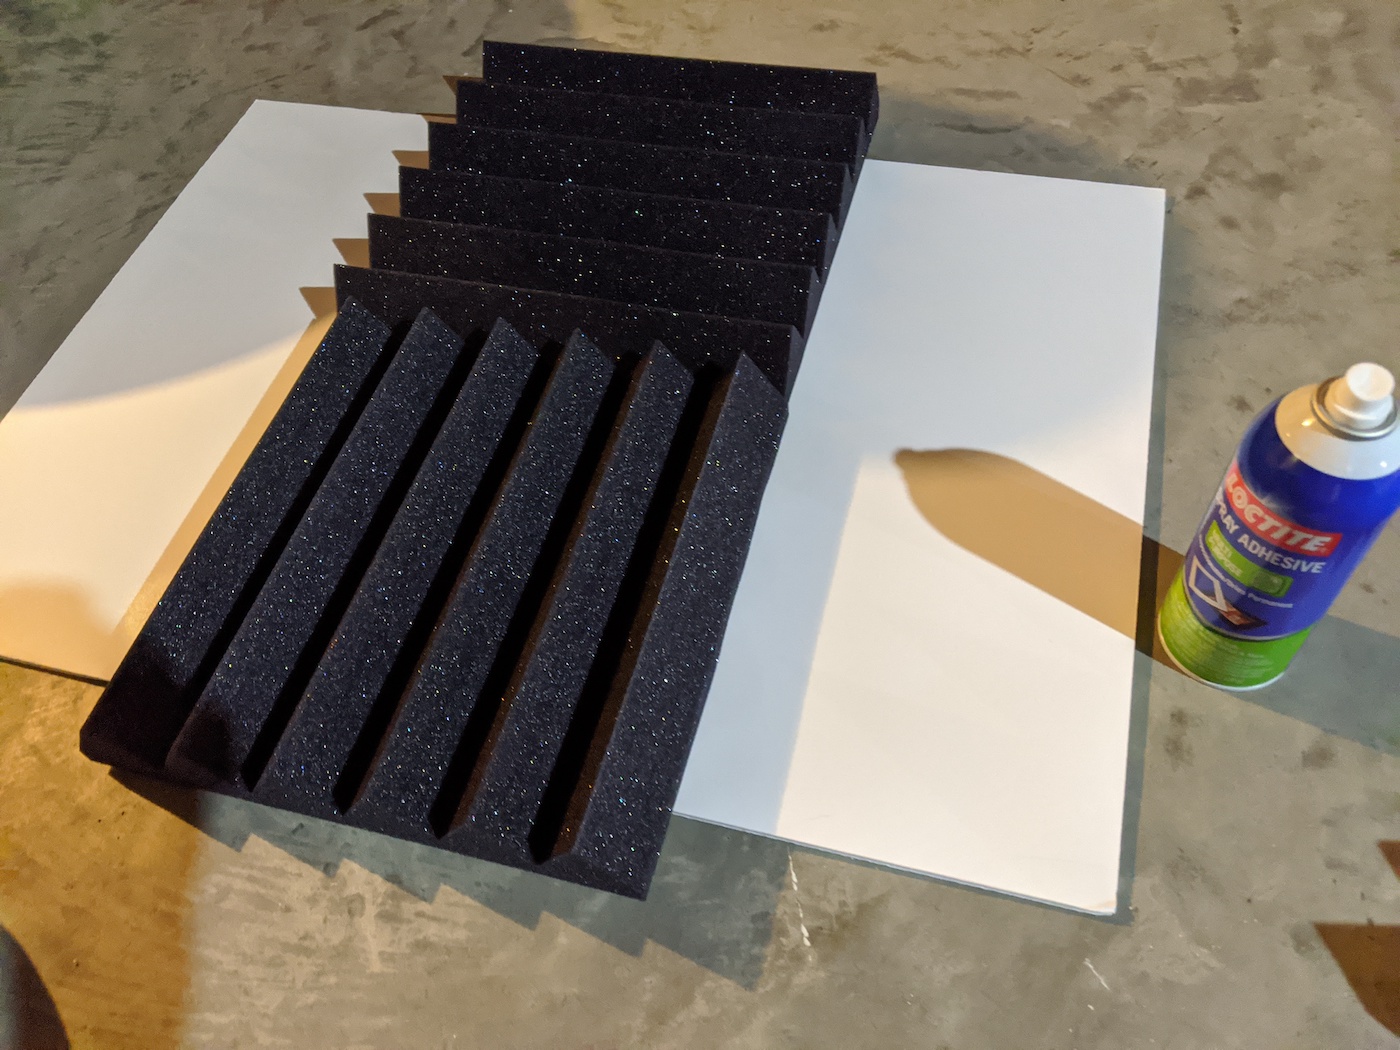
Align all six panels onto the foam board panel. The foam board will need to be at least 20x30 inches or larger. To attach the foam, I used a Spray Adhesive. Make sure to do this step in a well-ventilated area. It should only take a few minutes to dry, dependent on the type of adhesive used. Once dry, you should have something similar to this:
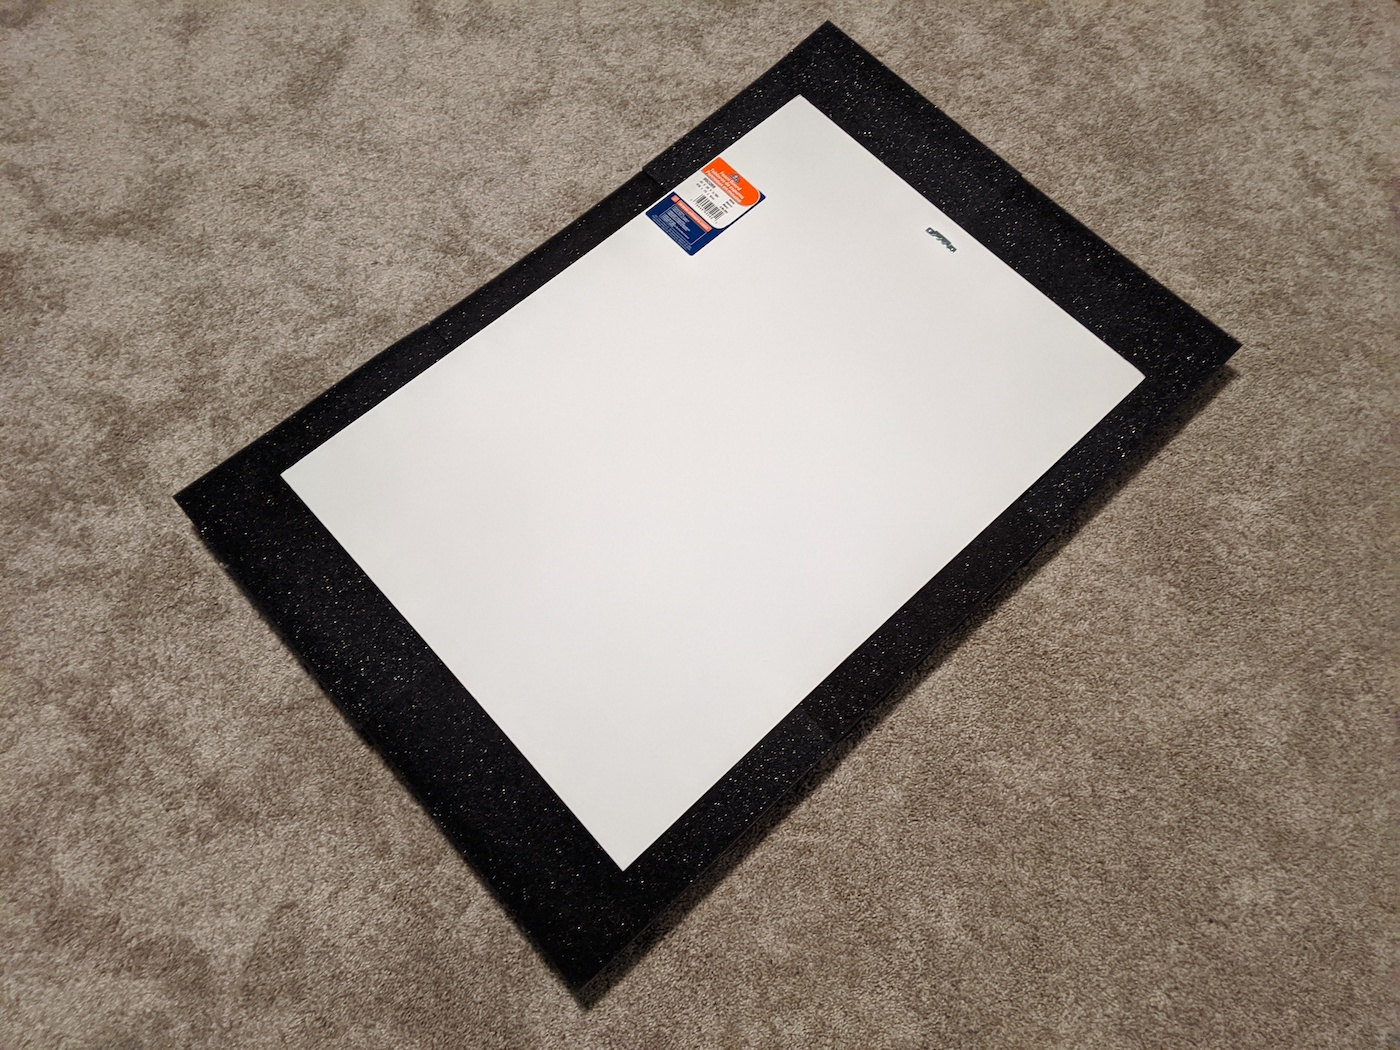
Step 3 - Wall Anchor/Hook
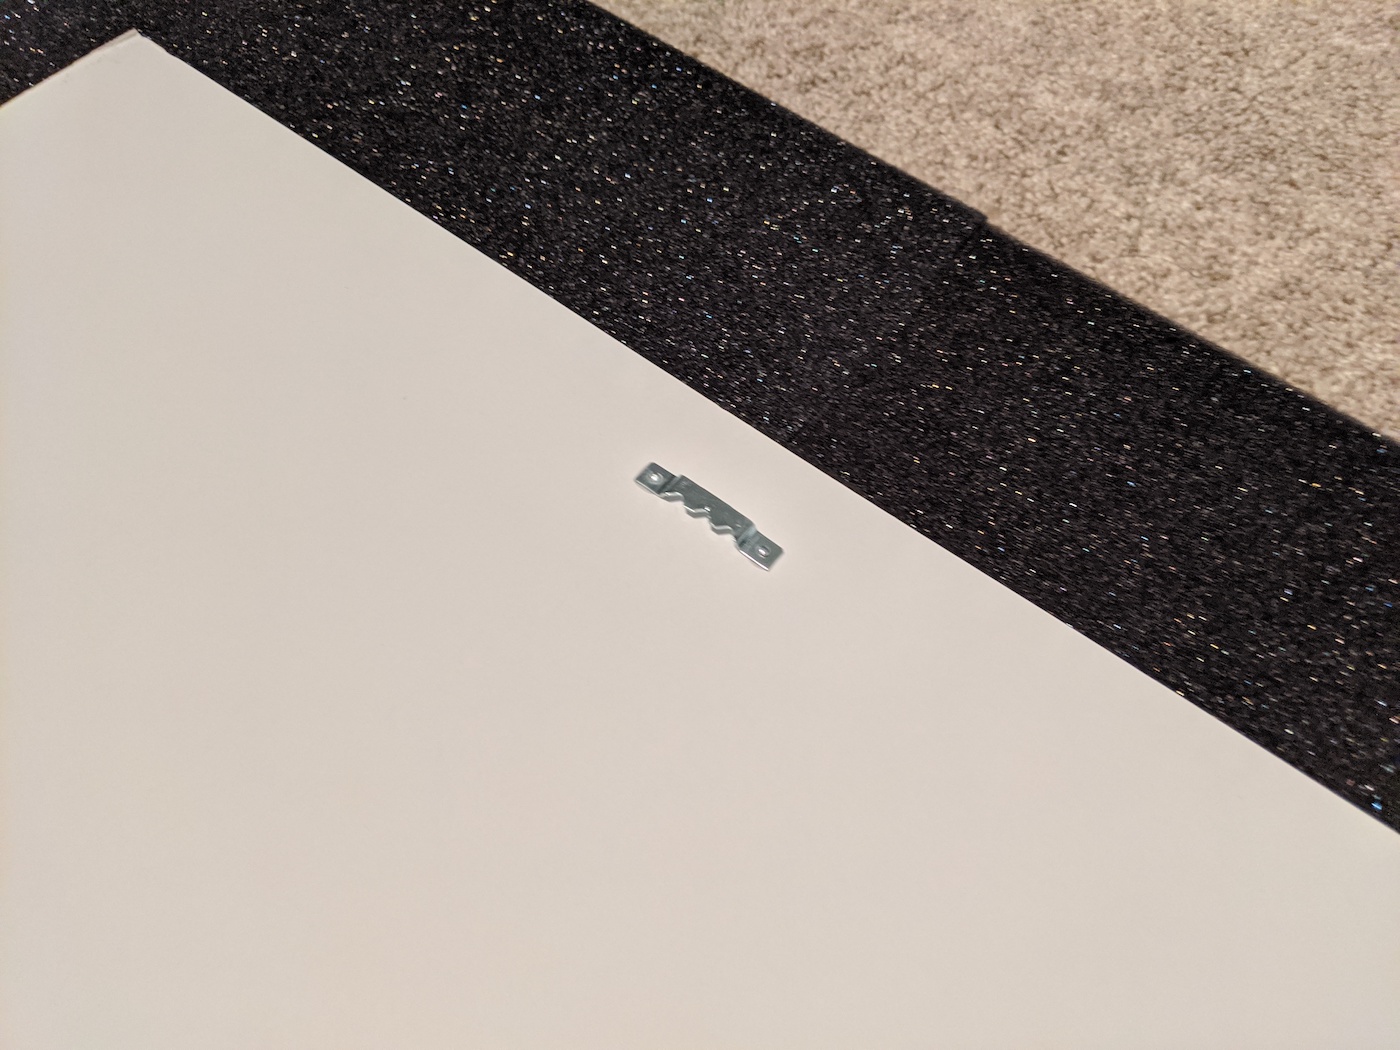
There are many ways you can attach the foam board to a wall. I wanted to make it easy to remove or move, so I used a standard sawtooth picture hangers. The panel is light enough that most standard wall hanging kits should be able to handle the weight.
To attach the sawtooth hanger, I used a slight amount of super glue on the nails to ensure a sturdy grip on the foam board.
Step 4 - Panel Placement
The placement of the panels is crucial so they can be as effective as possible. For my remote home office, most of my audio is of me speaking. The ideal place for the panels is to place them directly in front of you behind your microphone. This placement will help prevent echo from being picked back up from the microphone.
A single panel makes up six 12x12 inch foam tiles. If you need more coverage think about the placement as well as where you may want to use the sawtooth hook.
Step 5 - Attaching to Wall
To attach to the wall, you can use a standard picture frame nail to hang the panel on if a sawtooth hook is used. Once hung in the desired location, use a level to ensure it is appropriately aligned. You may need to place a secondary nail at the bottom of the panel to ensure its even. A small picture nail can push through the foam board between the foam tiles to fix to the wall.

That's it! Hopefully, this helps improve your remote office experience. Not only should you have improved audio but notice that the room will seem a bit quieter and more comfortable to focus in. If you get panels set up post pics in the comments below!

