

How to Build an Arcade Table with Raspberry Pi
Cory Rylan
- 25 minutes
Building a home retro arcade table has never been easier. With fantastic open-source projects like Retro Pie and low-cost computers like the Raspberry Pi, we can build custom arcade machines in any number of ways. Recently I created my own Arcade table and wanted to share the process and steps I took.
First, I wanted to build something compact and blend in a bit more than a full-size arcade cabinet. Luckily there is a large community in the maker space around hacking Ikea furniture into all sorts of uses. The Ikea Lack table is one of the most popular options being cheap and easy to work with. With the Ikea Lack table, I achieved the look and simplicity I was hoping for.
So first, let's go through some of the prep work and materials needed to get started!
Setup Raspberry Pi
We will want to do before putting the table together is set up our Raspberry Pi computer with Retro Pie. The Raspberry Pi is a low-cost computer that is great for education and hacking fun projects. For optimal performance and the ability to emulate most consoles N64 and below, you will want to get the newest Pi version 4. I got the 4g model, but a 2g would work as well.
Make sure to get a Pi starter kit that contains a power supply, case, micro HDMI cable, and micro SD card. I would recommend a case that has a built-in fan for active cooling. Once the Pi is in the table, the fan will help keep things nice and cool. This is the Raspberry Pi starter kit I have been using for my projects since it provides everything to get started.
Retro Pie will be the software we use to run the software for the arcade. Retro Pie is an open-source project that provides a suite of emulators. Emulators are programs that emulate the original hardware the game was designed to run on. This allows games to run on almost any computer today without the original console/arcade hardware. Emulators use ROMs (Read Only Memory) files, which contain a copy of the game which the emulator will run. ROMs should only be used for games which you have a legally purchased copy for. There are also many homebrew free ROMs available online built by a growing retro gaming community.
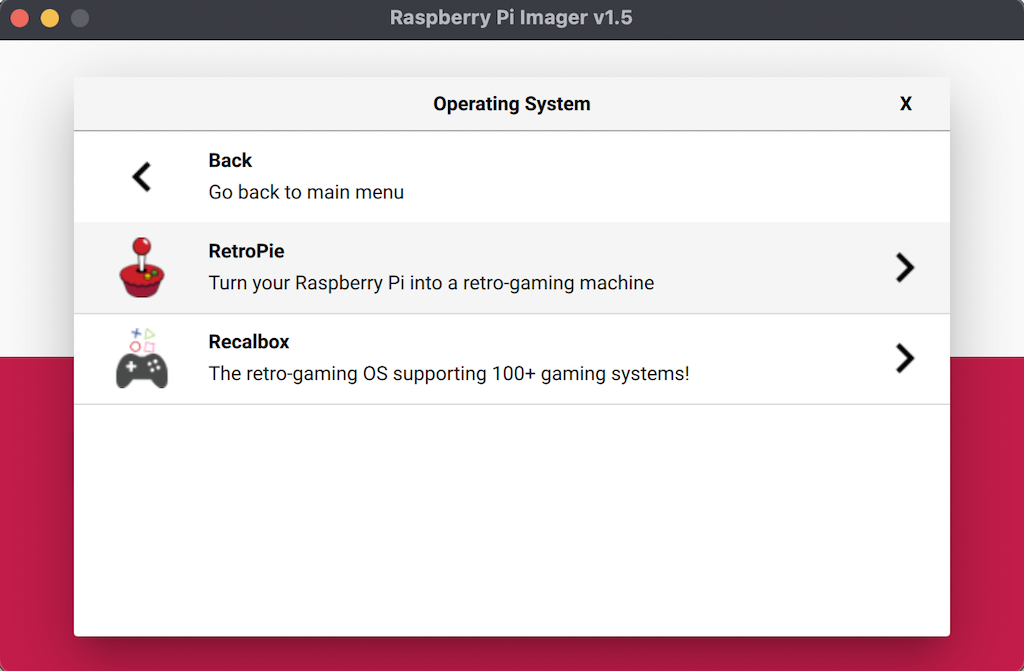
Your kit likely will have Raspberry Pi OS pre-installed on your SD Card. Raspberry Pi OS is similar to an Operating System like Windows and macOS, providing a simple interface to use. You can install Retro Pie on top of this, or I would recommend a clean new install of Retro Pie. This will ensure RetroPie runs at the default settings without issue.
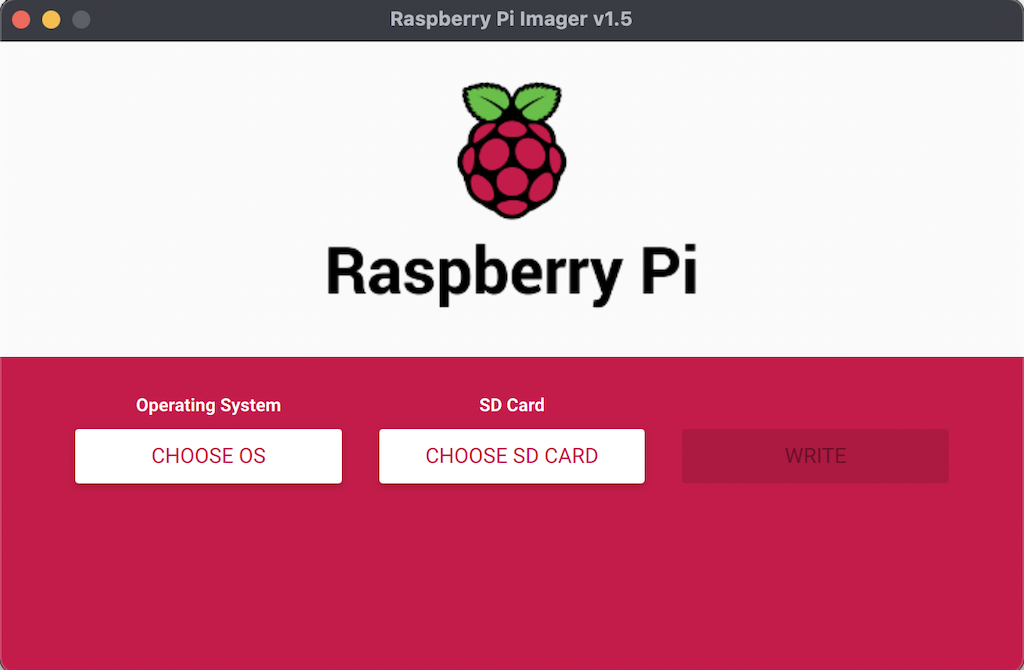
To install RetroPie or your OS choice, use the Raspberry Pie Imager. This tool will allow you to install RetroPie to the micro SD card.
Once installed, I recommend going through the Retro Pie beginners setup to ensure you have everything up and running. Once you complete this step, you can now play any ROMs you may own right on your Pi and TV. However, if you want to build an Arcade table, continue reading!
Table and Monitor
Most of the table can be made with only a few common tools. First, we will need to have the Ikea Lack table and appropriate monitor to embed in our table.
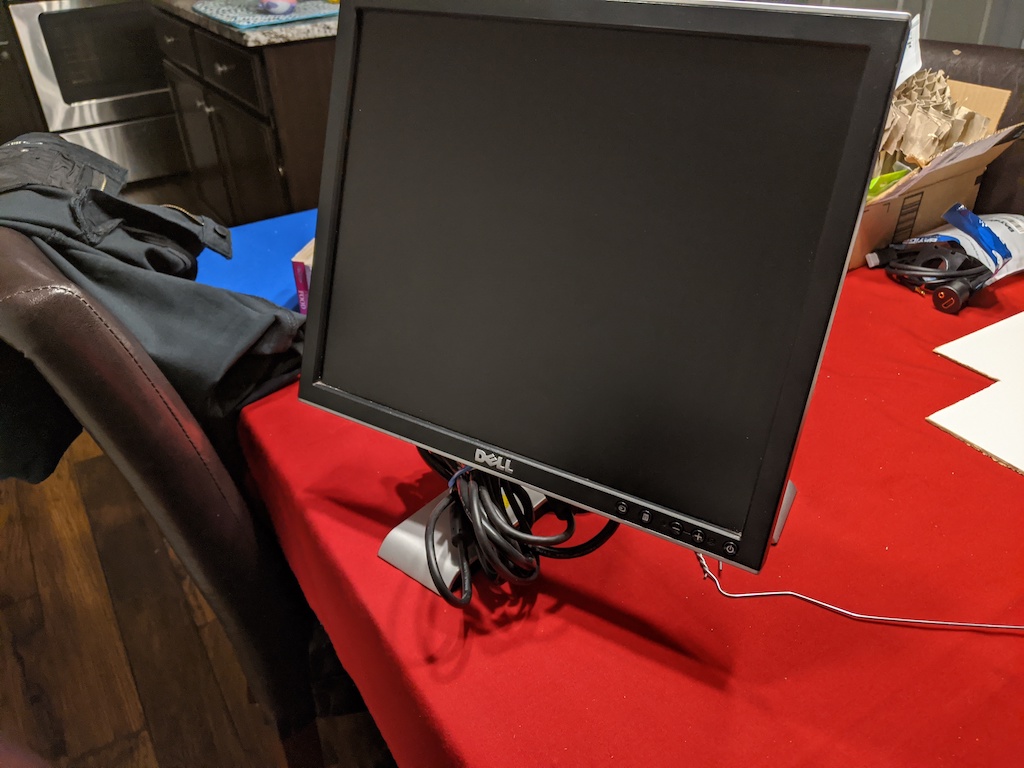
I built two tables in this project; one used a widescreen monitor, while another used a 3:4 aspect ratio monitor. While the widescreen was visually impressive, it made the table more difficult to put together as there was limited space left for the electronics. So I would recommend a 3:4 aspect ratio monitor around 17in. I found an old Dell monitor at a local resale shop in excellent condition for only $7.
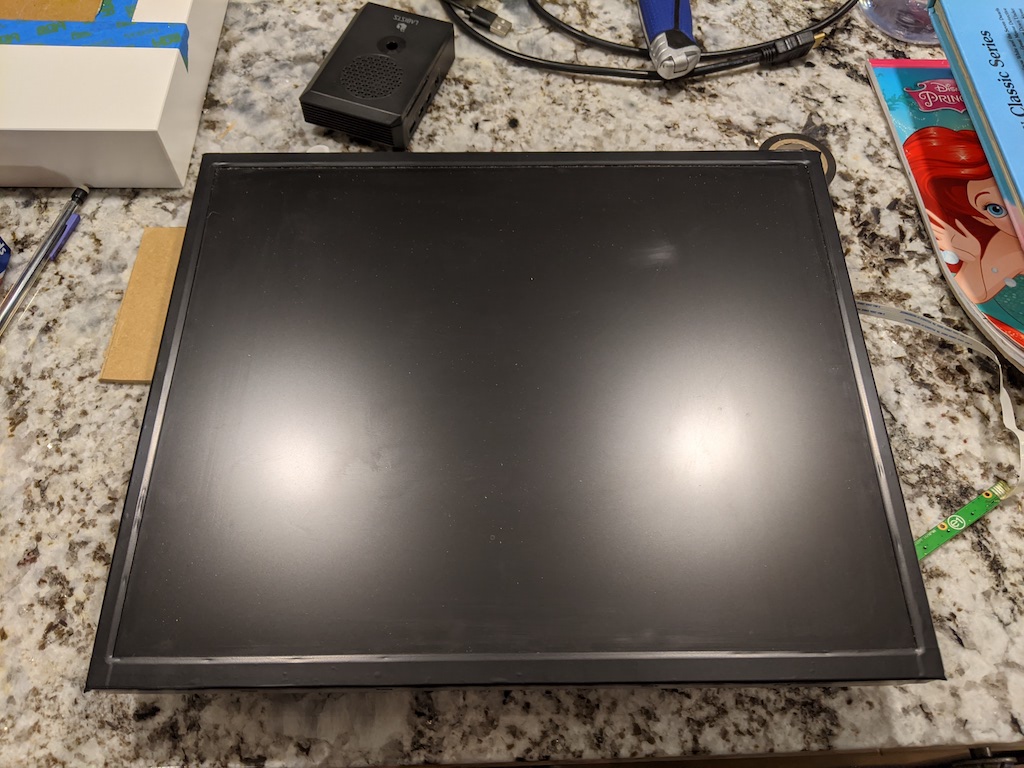
The Ikea lack table is around 22 inches in both directions, so be sure your monitor will leave adequate space. Once you have a monitor, you will want to remove it from the plastic casing down to the LCD itself. This will save space but also give an accurate outline that you will need to cut.
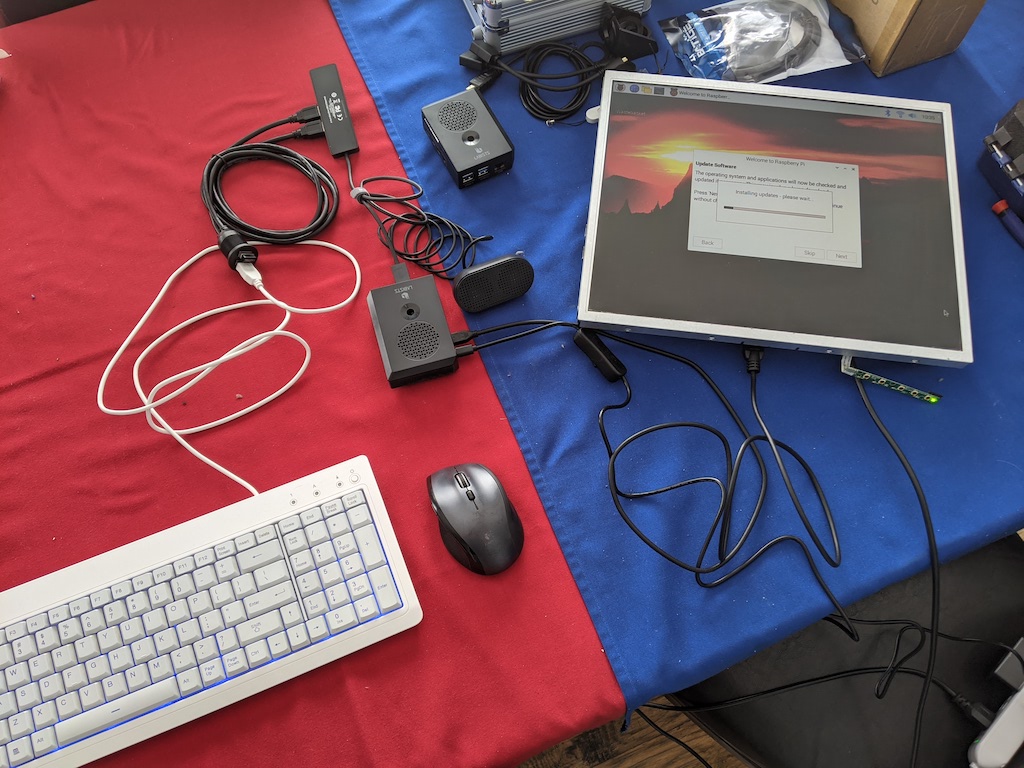
Testing Electronics
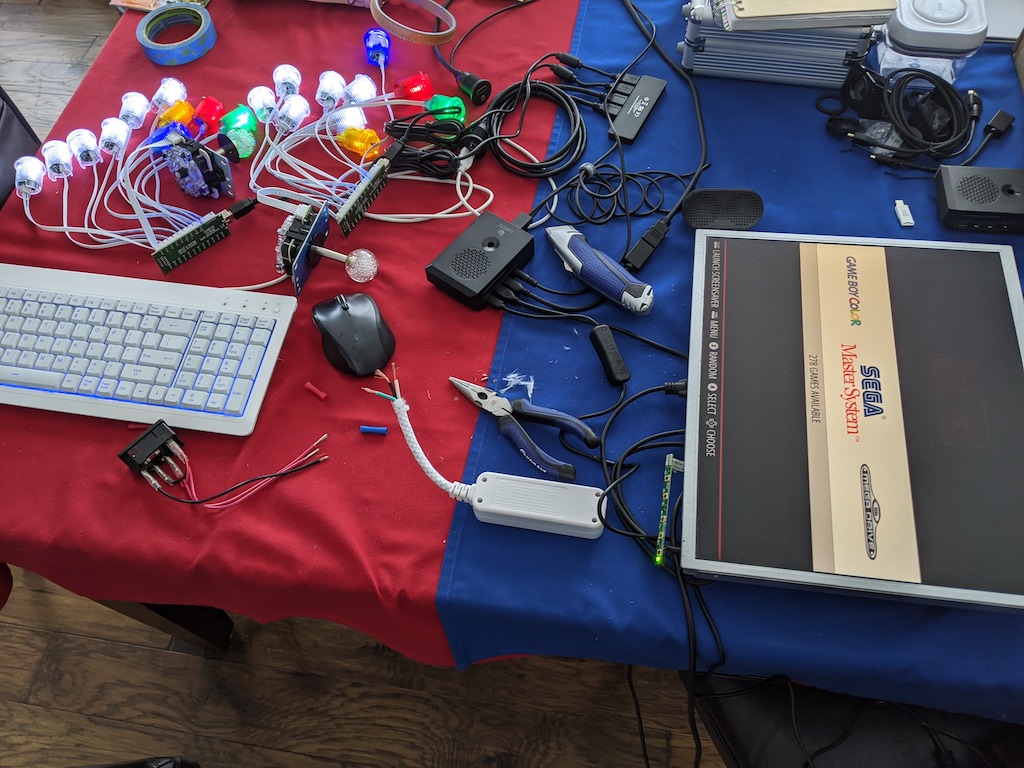
Before constructing your table, you will want to test all the electronics. Along with the monitor and Raspberry Pi, there are a few more parts for the arcade electronics. First are the arcade buttons and joysticks. You can find any number of USB based arcade kits on Amazon. I got this Arcade button starter kit that came with two sets of buttons and joysticks. You can get single-player kits as well. Be sure to get a kit that provides a USB controller board, as this will save a lot of time from having to do custom wiring work.
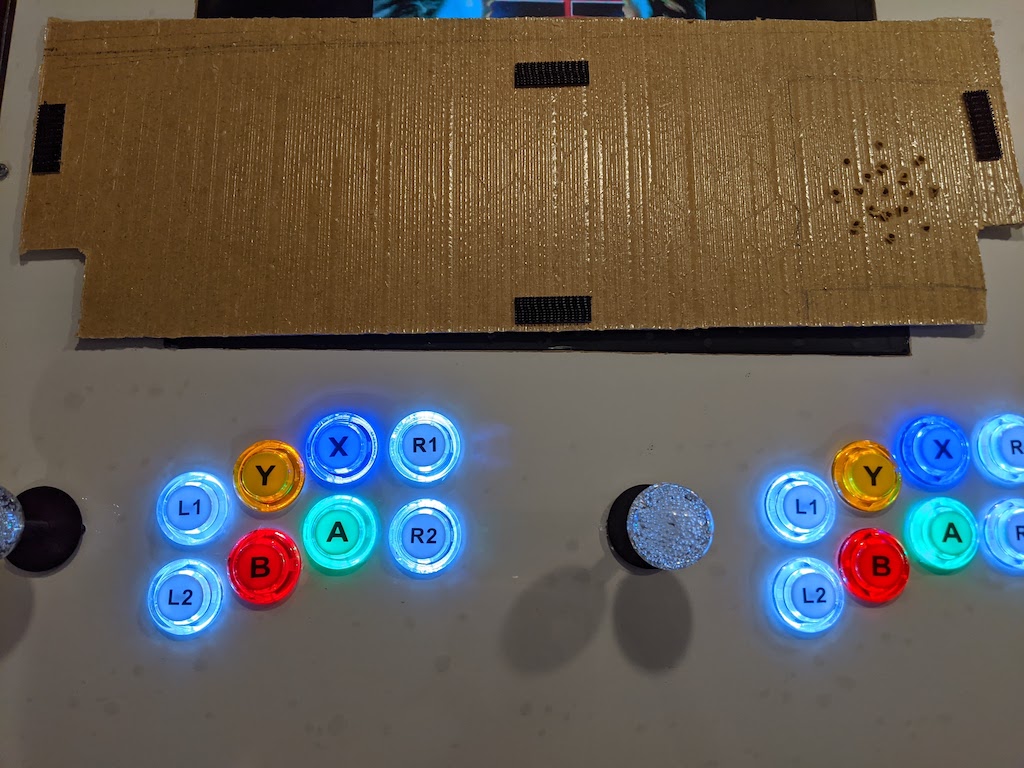
There are a lot of styles with arcade buttons. I decided to go with labeled buttons and a layout that mimics more of the classic Super Nintendo feel. There are other layouts to consider, such as fighting style arcades. Once you have your kit, use cardboard and any number of online templates to determine what button layout works best for you. Think about comfort and the types of games you will play.
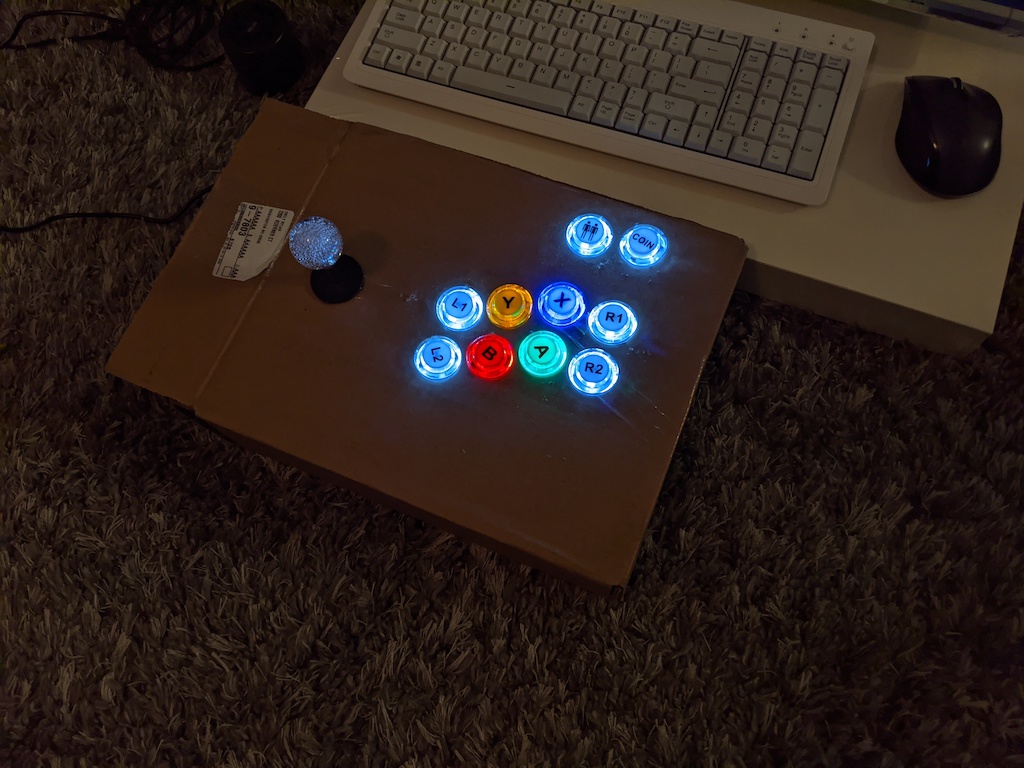
Once you have decided on your layout, you can plug it into your Raspberry Pi and set up the controller kit as a new player.
Here is a rough diagram I drew out of the electronics used in the table.

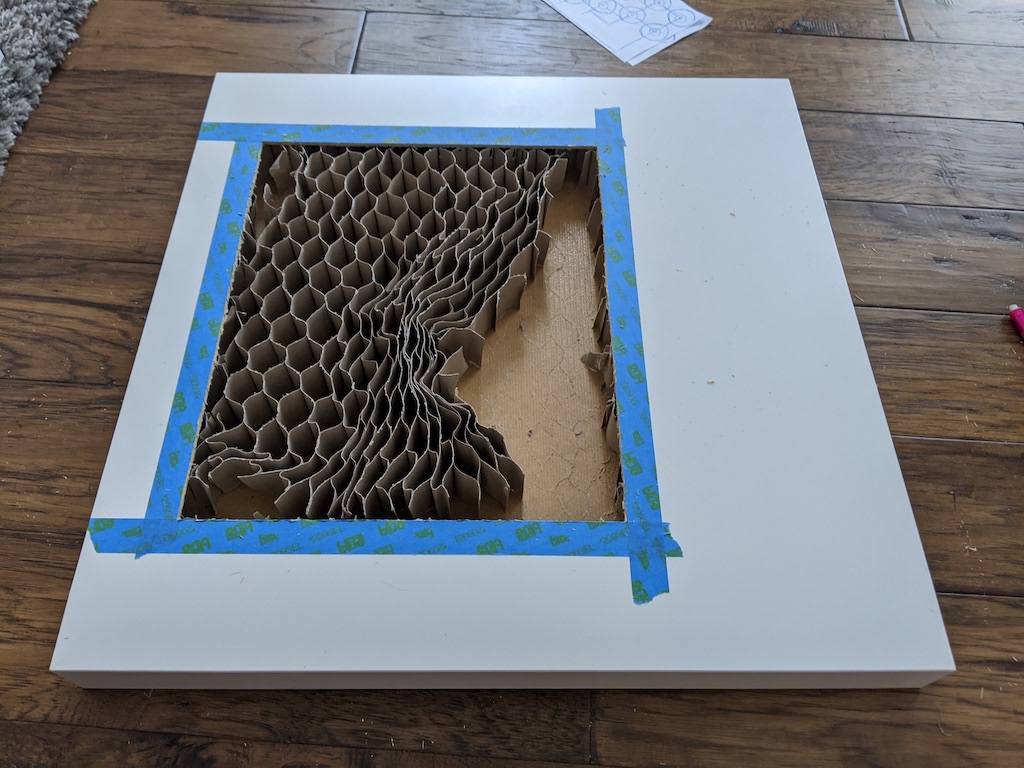
Monitor Cutout
One of the nice things working with the Ikea Lack table is not only is it cheap but easy to cut. Using a standard razor blade, you can cut out the monitor opening. First, outline the monitor with a pencil and tape off the edges. This will help protect the table's finish if the knife slides out of the desired path. You will want this to be a snug fit, so the monitor does not shift around in the table.
With the razor blade and a straight edge or ruler, glide over the line, repeatedly slowly cutting into the table. Take your time with this, as you don't want to scratch the surface.
Once cut, you should pry off the top, and inside, you will find a honeycomb-like structure. You can cut this out but only what is needed for the monitor. Keep the excess and the cutout of the table as they will be required later. Do not place the monitor on the table yet, as it will be tough to remove!
Drilling Button Placement
Once the monitor opening is complete, we can move onto our buttons. Using a template, mark out where the buttons should be drilled into the table. Ensure the placement is in a comfortable spot leaving the room so the palms of your hands can rest on the table. Also, be sure not to place them too far in so the table remains structurally sound between the monitor and buttons.
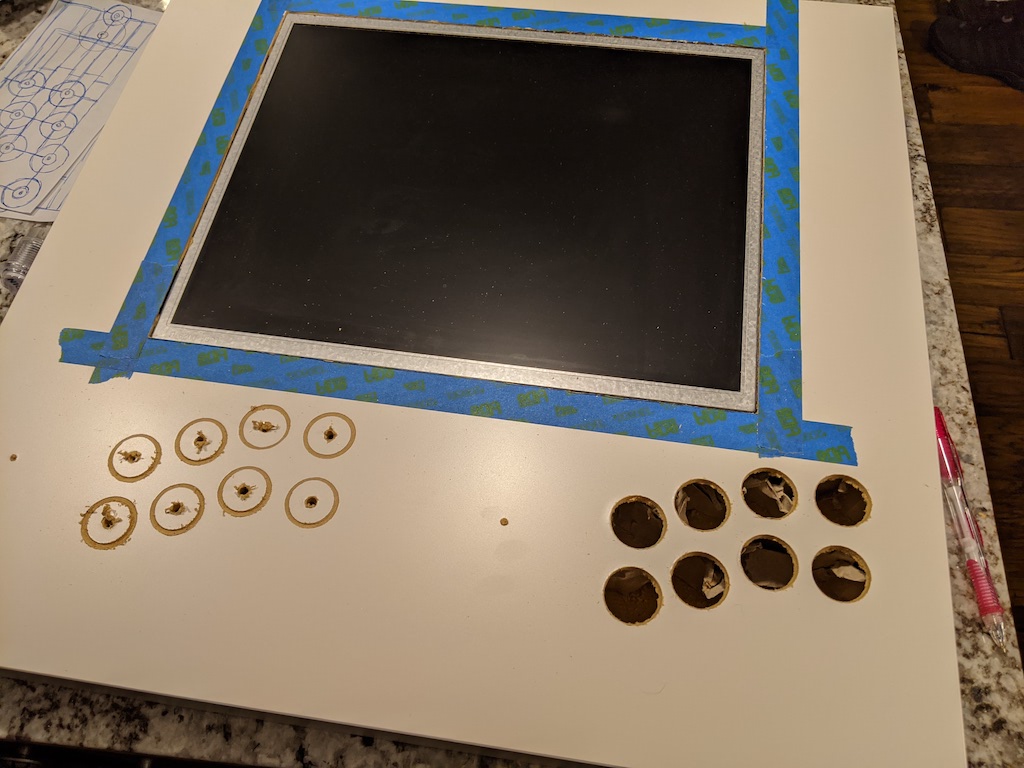
To drill the holes, use a special dry wall/hole saw drill bit. This will quickly create a hollow hole with any standard power drill.
Plastic Clear Top
I added a clear top to the table to make it sturdy and protect the monitor. There are a couple of options for clear tabletops. You can use Acrylic (Plexiglass) or Polycarbonate (Lexan). Acrylic is typically cheaper and more scratch-resistant but more likely to crack. Polycarbonate is more flexible and stronger but is more likely to scratch.
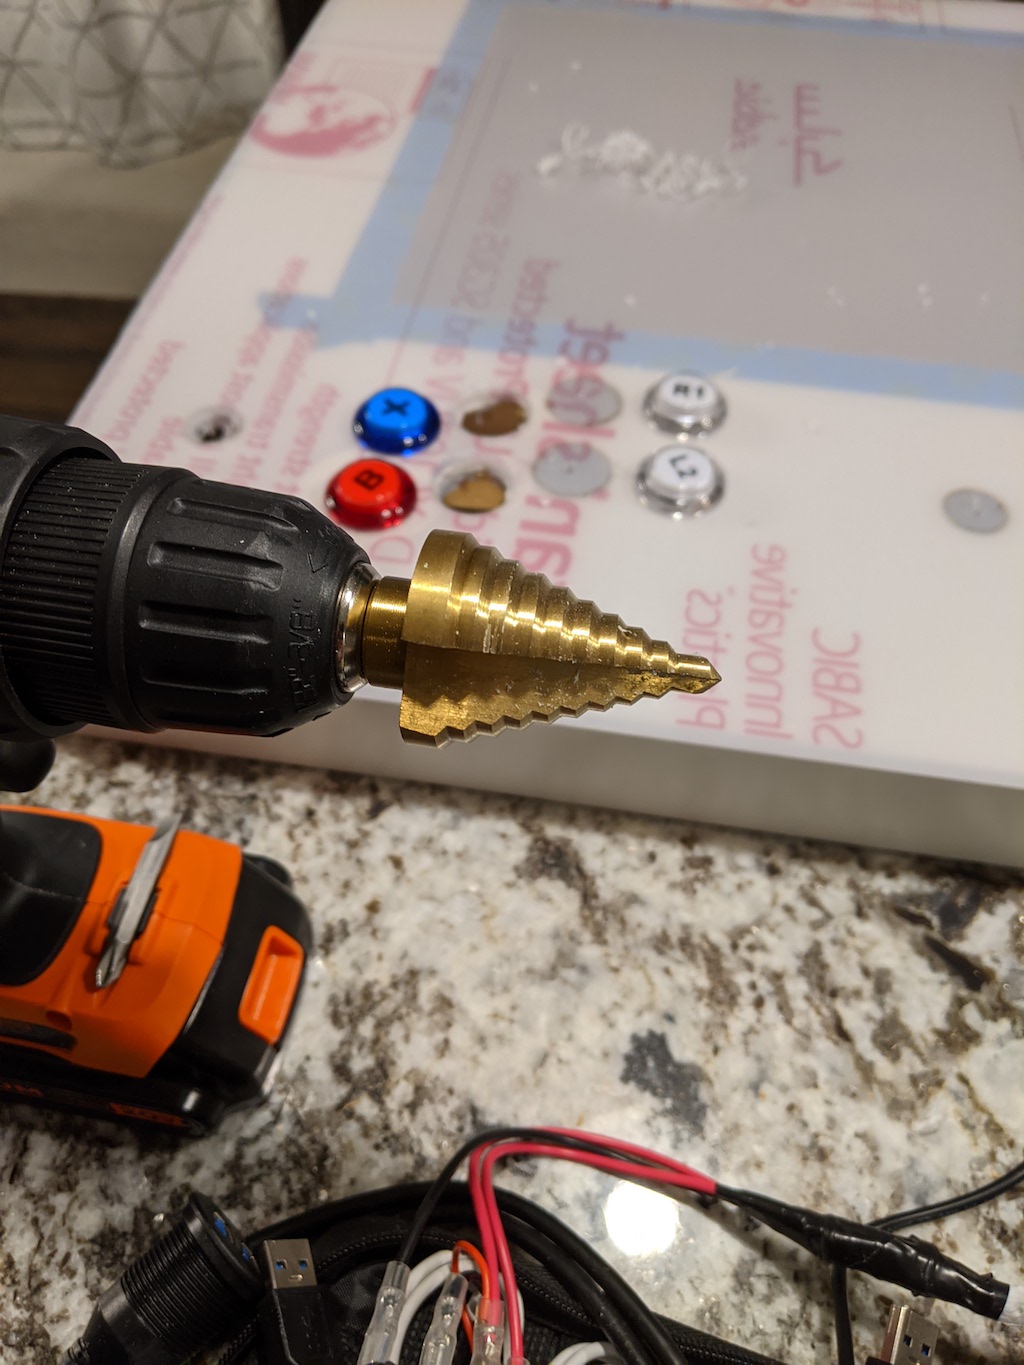
For this project, I chose Lexan (Polycarbonate) as it's easier to drill the buttonholes into. You can get either type at most local hardware stores. Most hardware stores will also pre-cut the plastic for you. To drill the holes, lay the Lexan over the table, mark your positions and use the paper template to align them. To drill the holes, you will want to use a step drill bit. This bit will allow you to drill the hole without cracking the plastic slowly.
When you dill into the plastic, go slow to prevent cracking or melting. Do not remove the protective plastic until you are ready to mount the tabletop.
Test the buttons properly fit into the plastic top and the table but do not yet attach them.
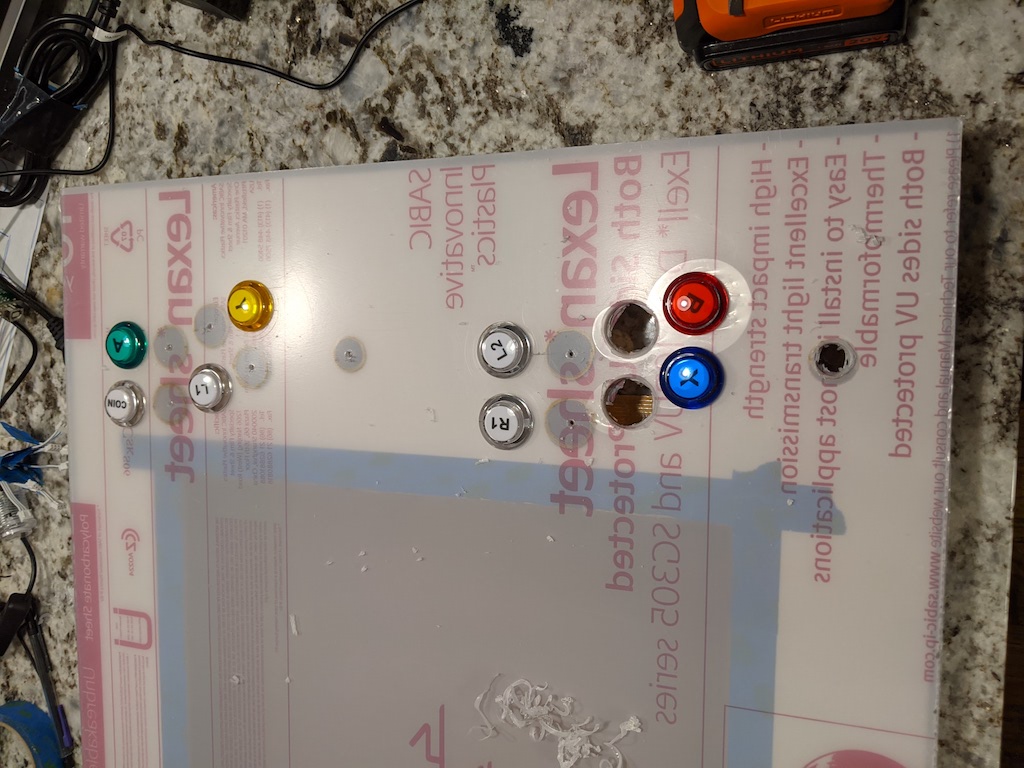
Because I chose Lexan, it is prone to scratching, I also added a protective layer of clear vinyl on top.
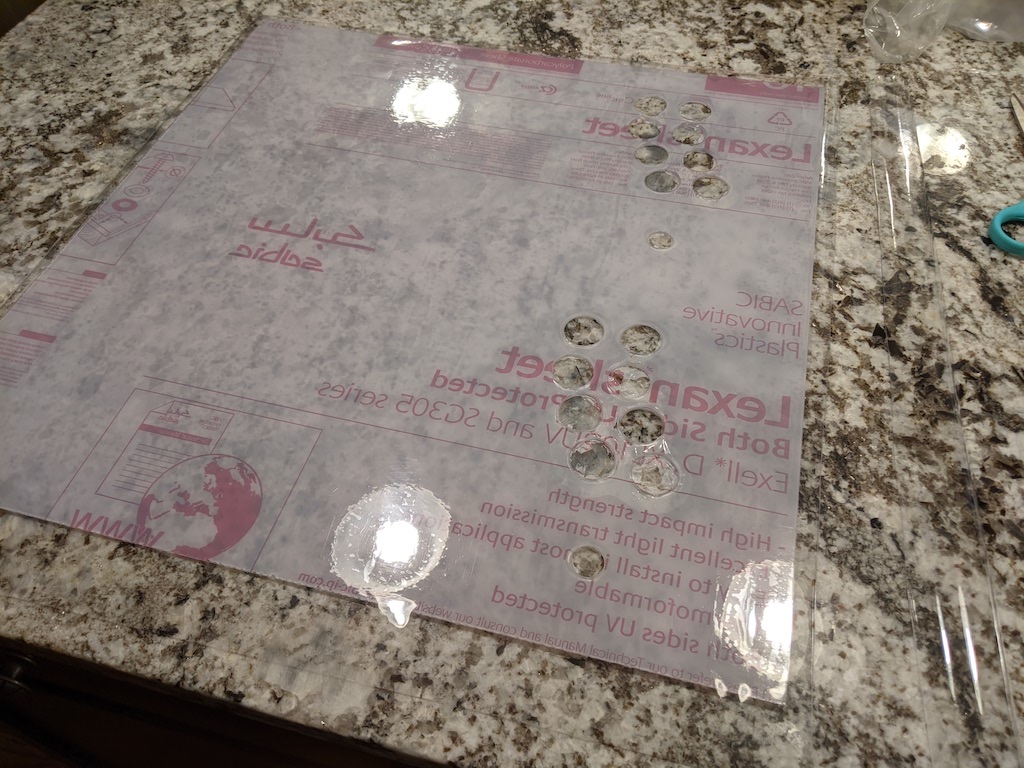
This is a plastic that is used for protecting tabletops. It's thick and provides a nice grip texture. You can find the vinyl roll here. When you apply the vinyl, you will want to try to be in a dust-free area. Any dust caught under the vinyl will cause bubbles and are a lot of work to get out.
Set aside the plastic top in a safe place for now as we will be attaching it last.
Service Panel and External Ports
Once the monitor and buttonholes have been cut, carefully flip the table over. We will now cut a panel open towards the front of the table so we can easily access it beneath the buttons. This is where we will be able to thread the buttons and wire up our Raspberry Pi.
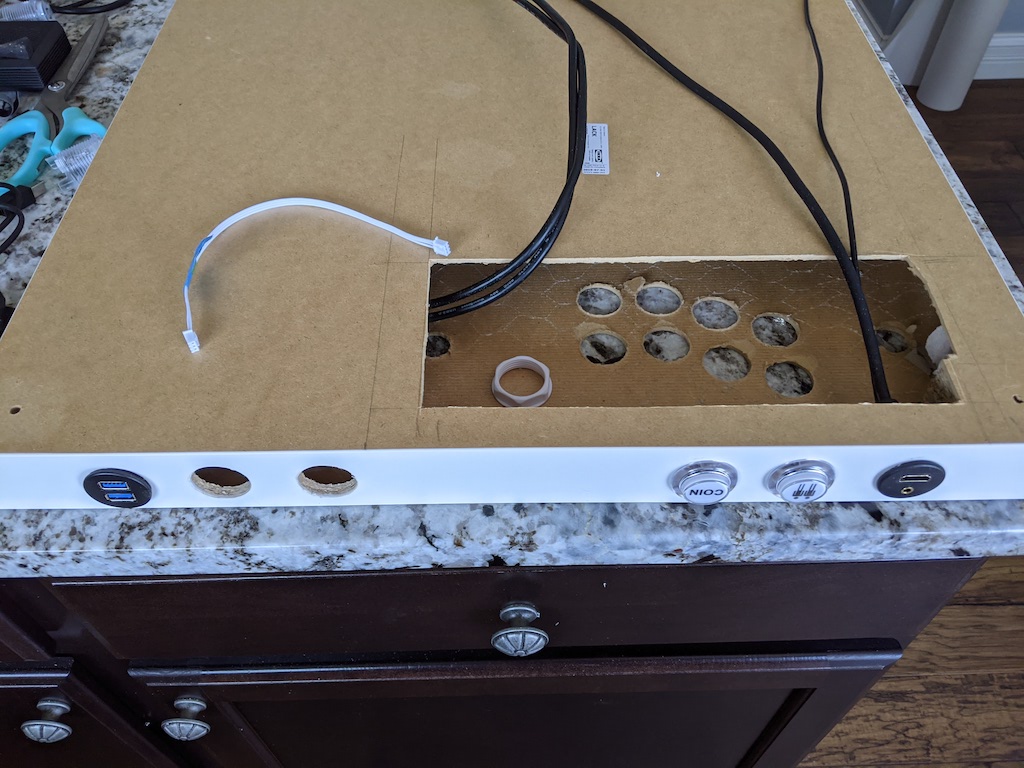
For my tables, I added the player select and start buttons on the front edge. I also added two additional ports. One port added two USB ports that connect to the Raspberry Pi, allowing me to connect additional USB controllers or a keyboard and mouse. The second port I added was an HDMI extension port. This will enable you to connect the table to an external TV.
Both of the external ports are automotive external addons. They are straightforward to install and simply plugin into the Pi. This is the USB extension I used. It was a bit on the long side but was very sturdy.
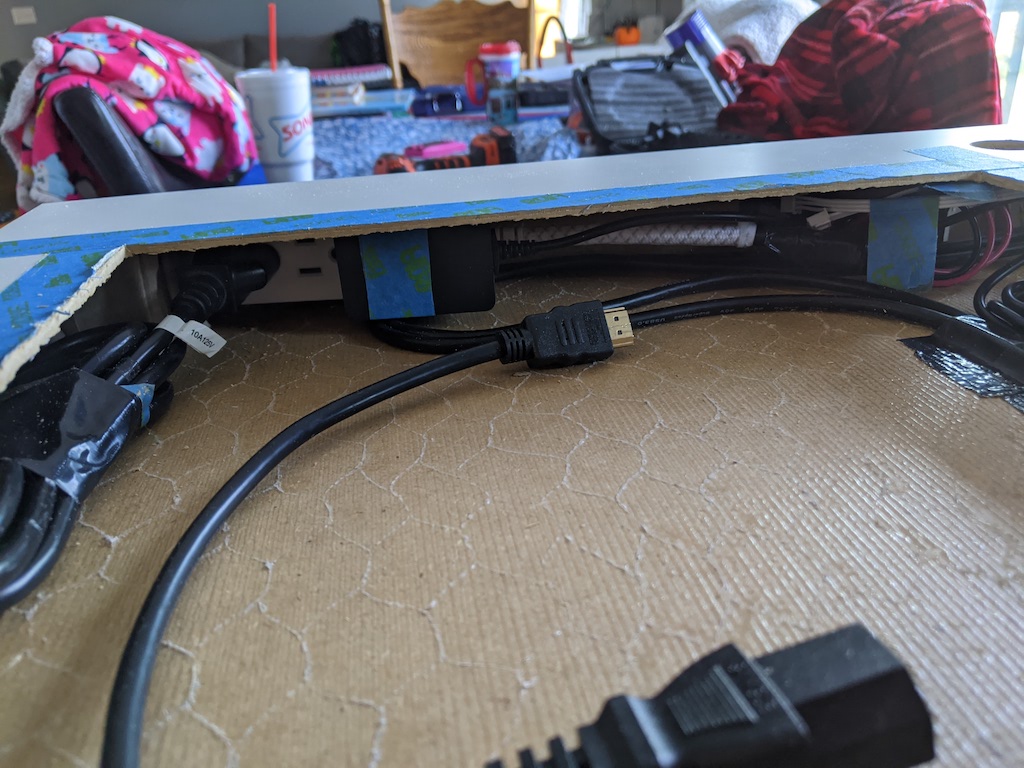
HDMI Out
For the HDMI out, it was a bit trickier. The Raspberry Pi 4 has two HDMI mini ports. However, I found them pretty unreliable for dual setup and very flimsy overall, so be careful. At the time of the build, the only way to mirror was to run Raspberry Pi OS first, then Retro Pie.
The best solution I have found is to use a single HDMI port on the Pi but split it with an HDMI splitter. This made it very reliable to split the monitor output to the HDMI extension so I could plug the table into the TV without issue. The only downside is the TV's resolution will be whatever the resolution of the tablet monitor is. I used this HDMI extender with this HDMI splitter. This splitter was nice because it did not require an external power supply like many others.
Power Supply
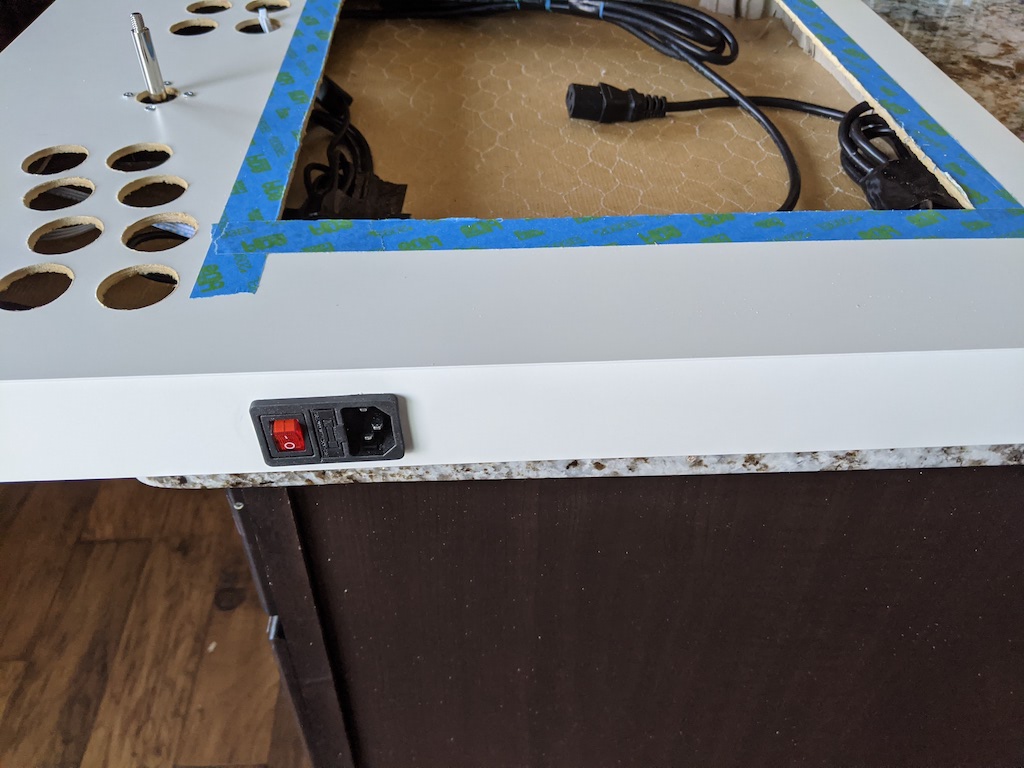
I wanted the tables to be fully enclosed. To do this, I added a 220v power switch to the table. The table needs at least two power outlets, one for the monitor and another for the Pi. You can splice a small power strip to wire to the 220v switch.
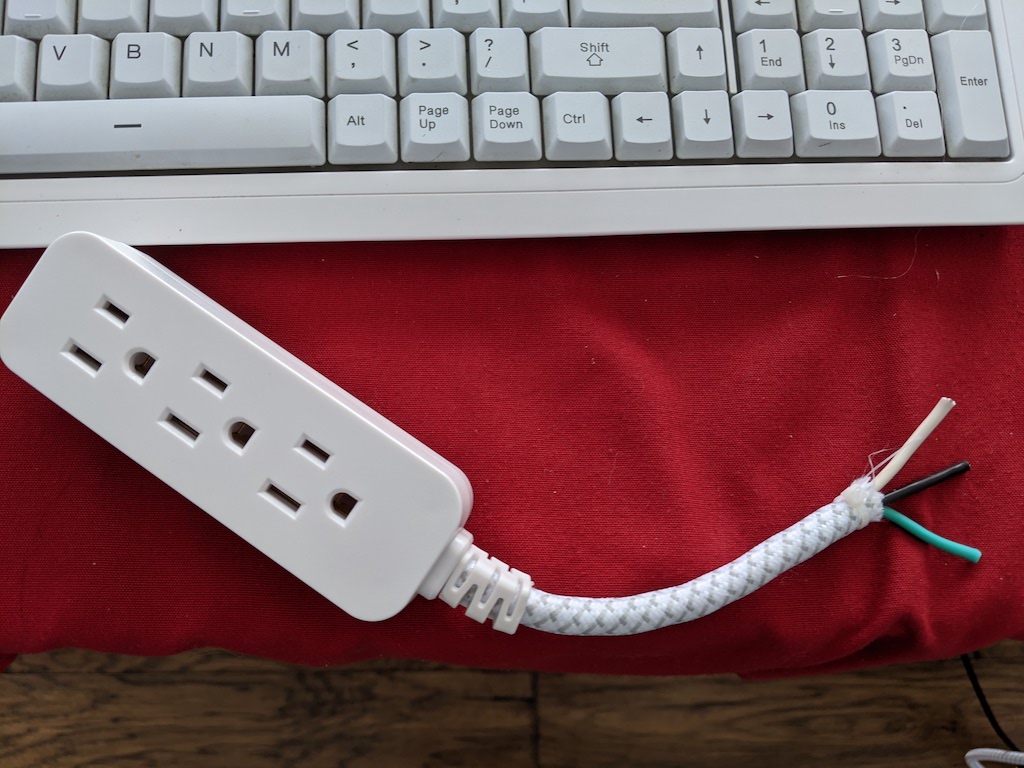
I used a small three-slot power strip, so I had adequate space but compact enough to place inside the table. I used a 220v power switch commonly used for 3d printing, which uses an IEC320 inlet. This is the common inlet standard for many monitors and computers, making power cables easy to find and replace. This particular switch has a built-in fuse as well and fits nicely along the side of the table.
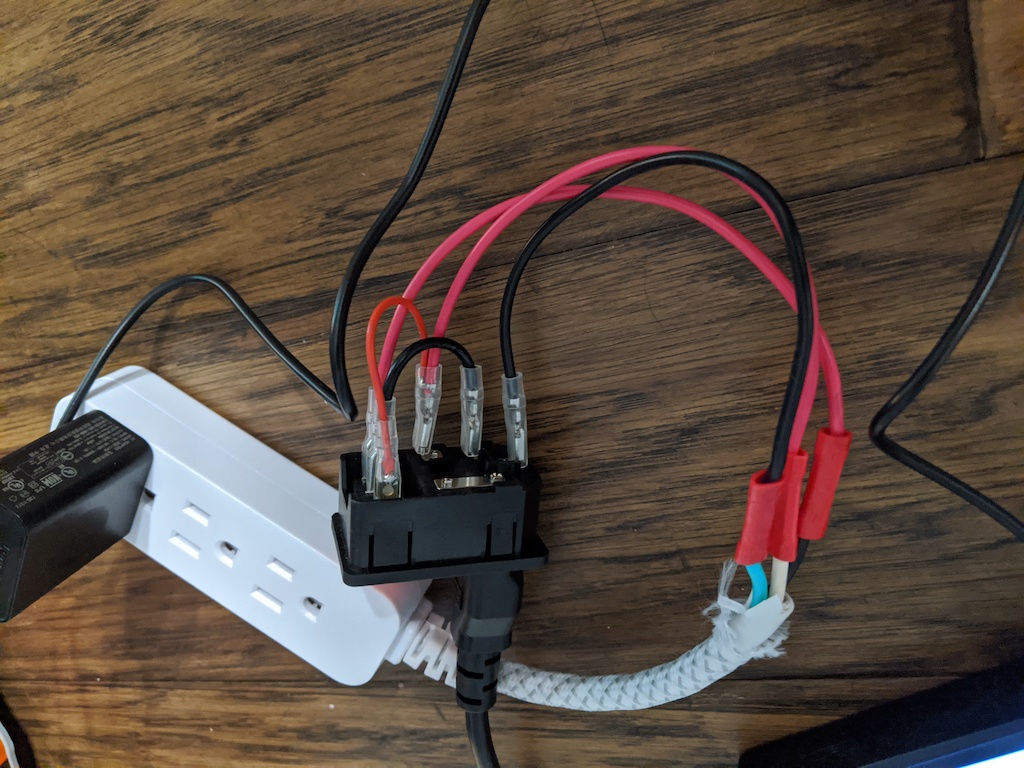
I recommend watching this Youtube tutorial on how to wire the switch to a power extension cable.
You will need wire connectors to connect the two ends together. Once wired, be sure to wrap the joined cables in insulative electrical tape.
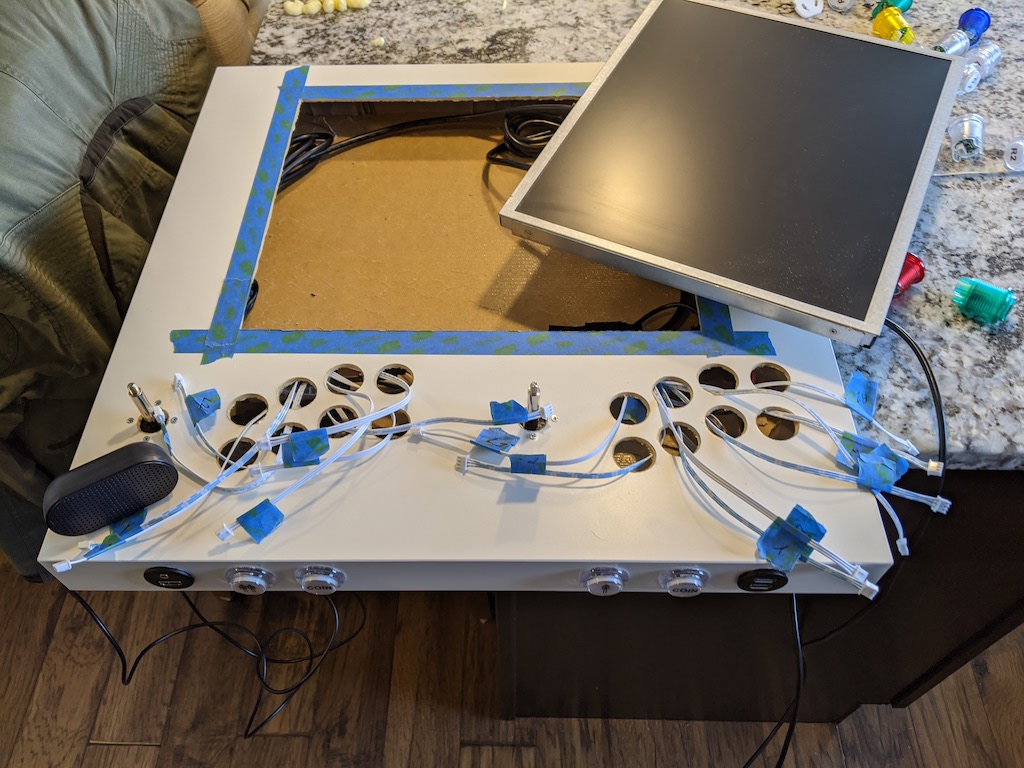
Internal Wiring and Button Placement
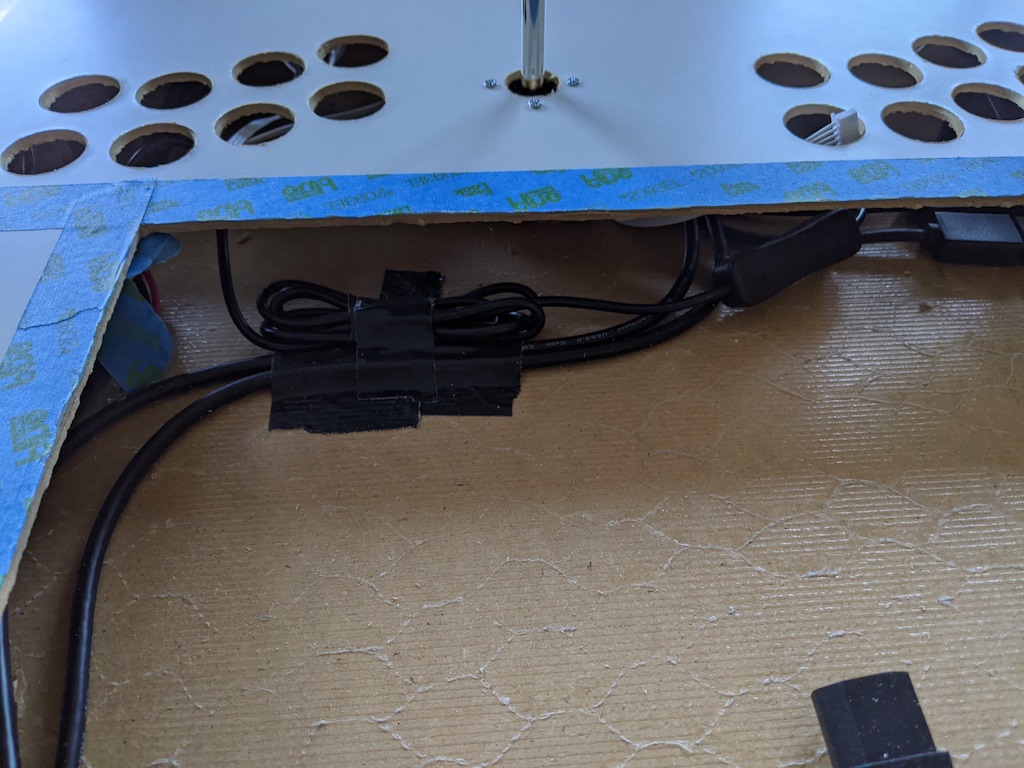
Next is attaching the Joysticks and buttons. This step will take the most patience and time. Clean wiring will make it easier to fix or adjust in the future. Funnel the wires along the sides of the table. This will help save space for the Raspberry Pi, which will be placed between the two-player buttons.
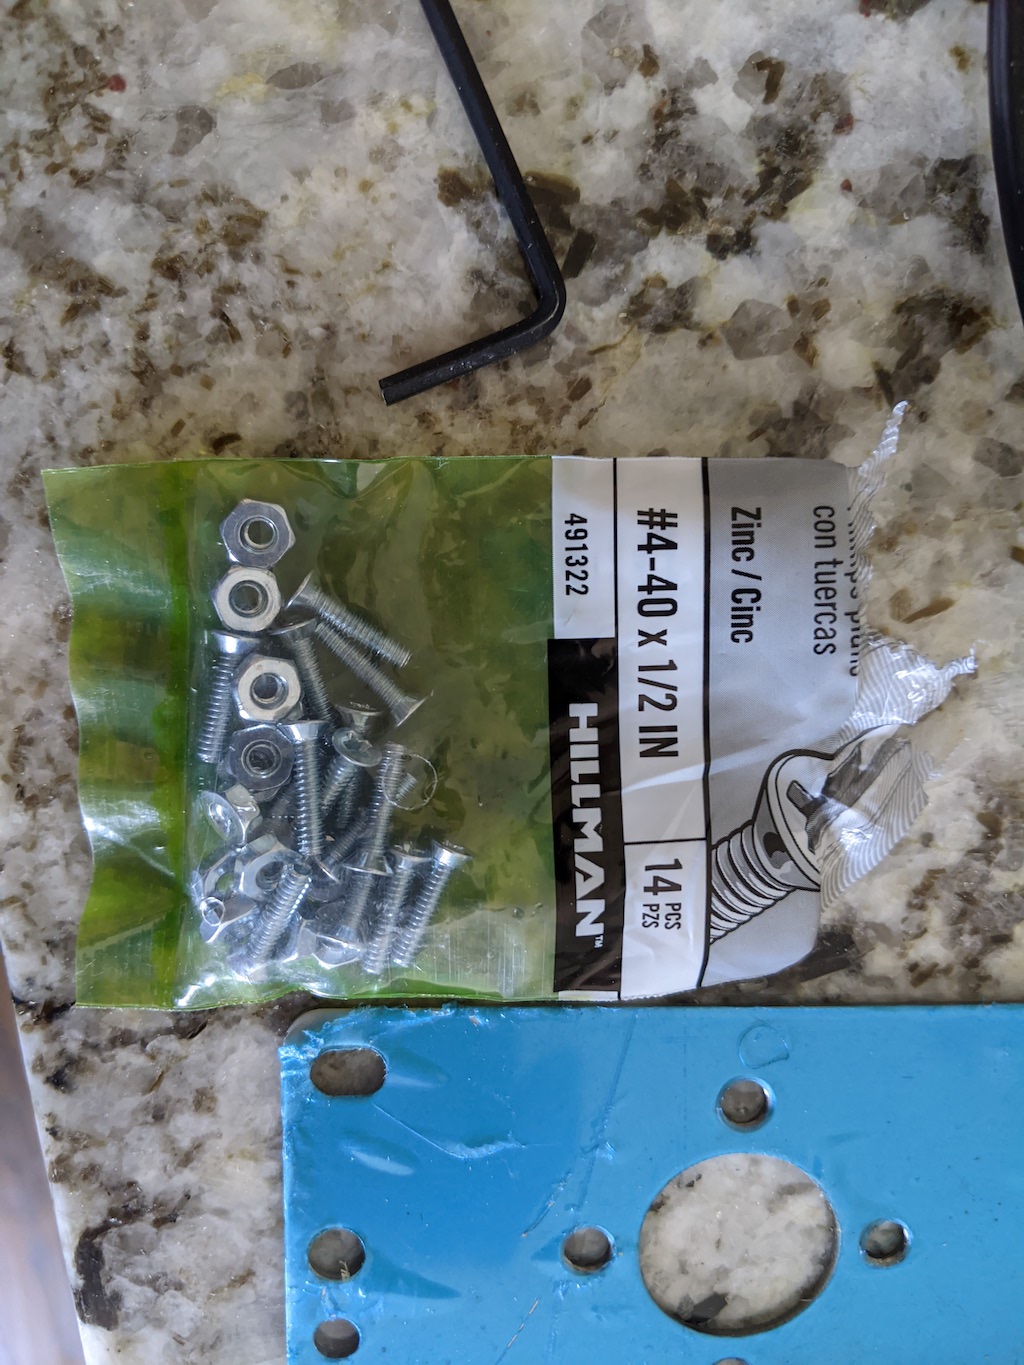
The Joysticks come with a countersink plate to screw the Joystick into. However, using the place would cause the plate to sit on the top of the table and not be flush. So to keep the table look clean, I opted to find longer screws to screw the top-down to hold the Joystick into place.
The screws need to be just long enough to get through the table and grab the Joystick mount under it. If it is too long, it will sit too high above the table, and the clear top will not sit flush. I was able to find these screws at my local hardware store that seemed to do the trick.
Be careful not to over-tighten the screws as there is not much material to work with between the screw and Joystick. For additional strength, I added a layer of gel superglue on the plate under the table. This helps distribute the force on the Joystick across a wider surface area on the table.
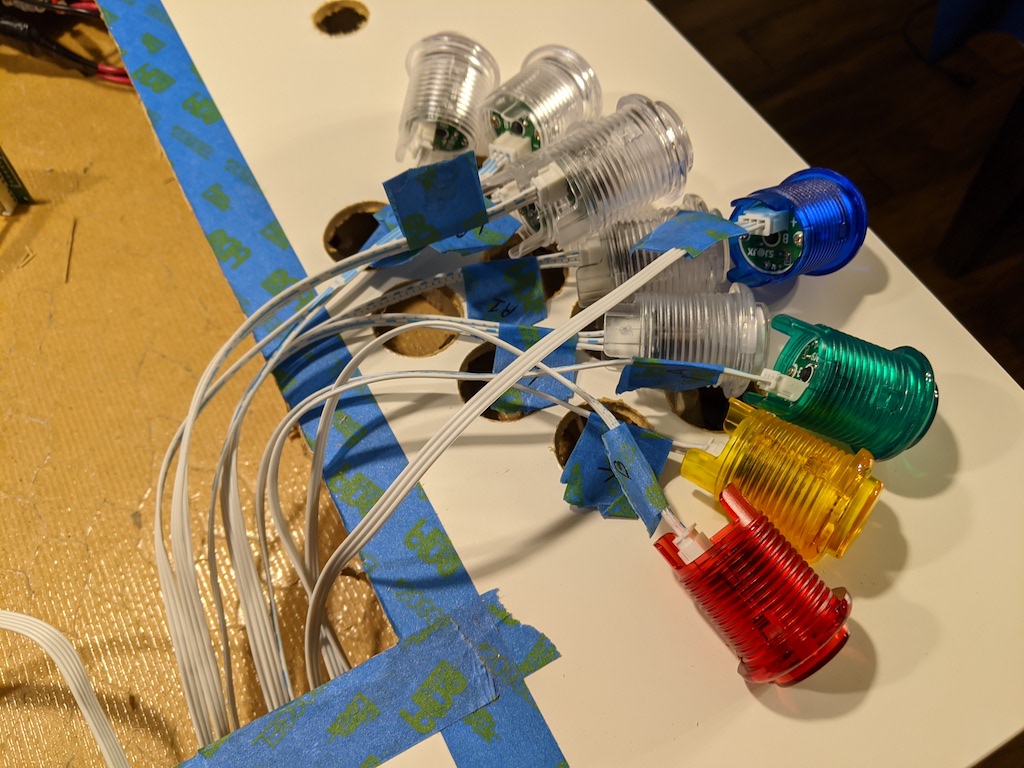
When wiring the buttons, add labeled tape to each, so you know which button belongs to which wire. This is important as you will have to disconnect the buttons later to place the acrylic top.
Test the wires and connect to your Pi to make certain everything powers up correctly.
I added black electrical tape around the monitor's edges, so it blended in a bit better than the silver casing.
Carefully lower the monitor into place. Be careful and wires as you don't want to cause any shorts. Slowly thread each button wire through the table and tabletop.

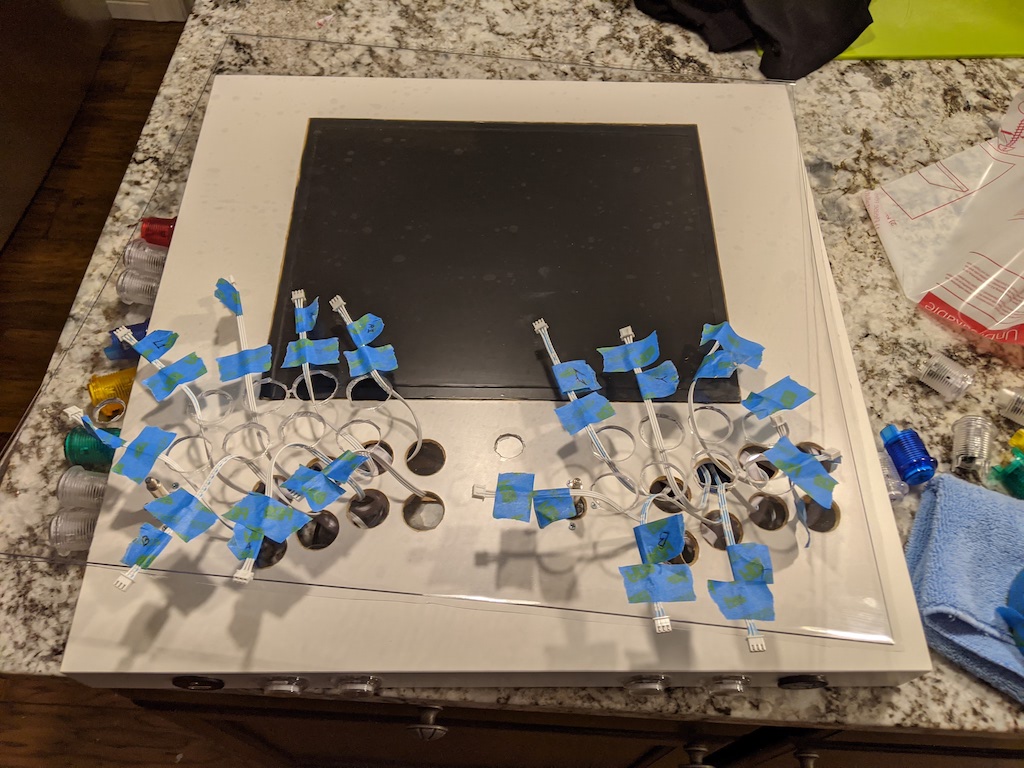
Once threaded, you will be able to place the buttons in and lock them into place.

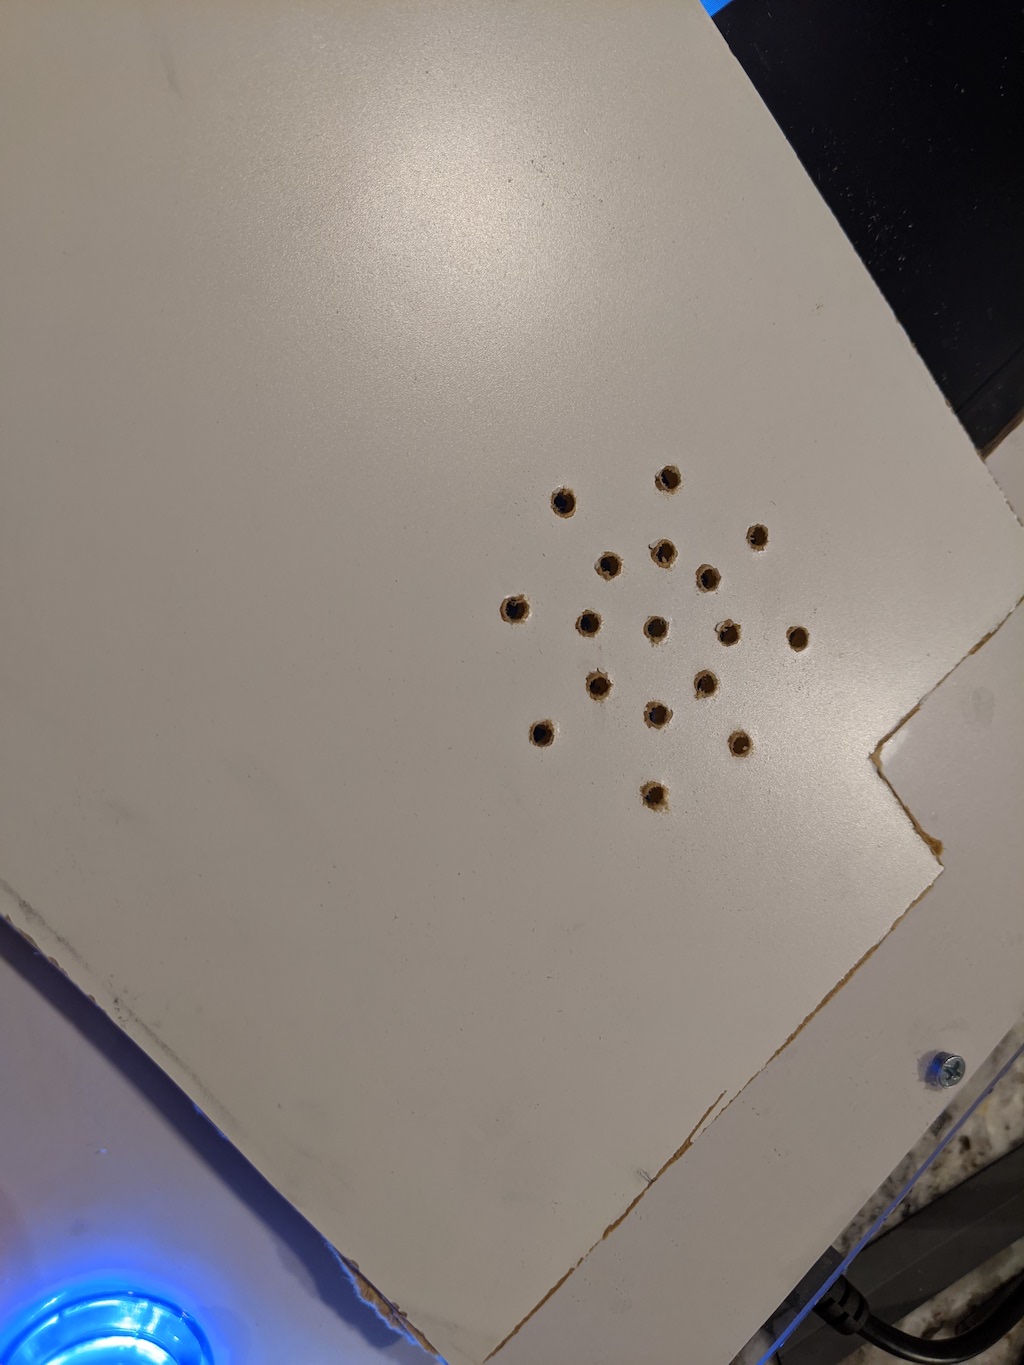
Speaker
Adding an external speaker to the table is relatively easy, and there are many options. I chose a small USB powered speaker. While not the loudest, it does not require an external power supply. Also, most USB powered speakers work automatically with the Raspberry Pi, and volume can be controlled directly in Retro Pi. You may need a USB hub to have enough ports for the Pi and arcade controls.
Using the excess material from the prior cutouts, drill several holes to create an opening to allow the speaker to play through the bottom of the table and cover the rest of the bottom electronics.
Test that everything powers up before attaching the legs as it will be easier to adjust any issues without the legs in the way.
Smooth Corners and Clear Top
Once assembled, you will want to round off any excess Lexan on the corners as they may be sharp from the original cut. Once placed, you can use any standard wood screw to tighten down the top. Place the screw in the far corners and edges to catch the thickest parts of the table structure.

External USB Controllers
If you opt to have the external USB ports, you can add any available USB controllers to the arcade. This is great for multiplayer and certain consoles with unique controller layouts.
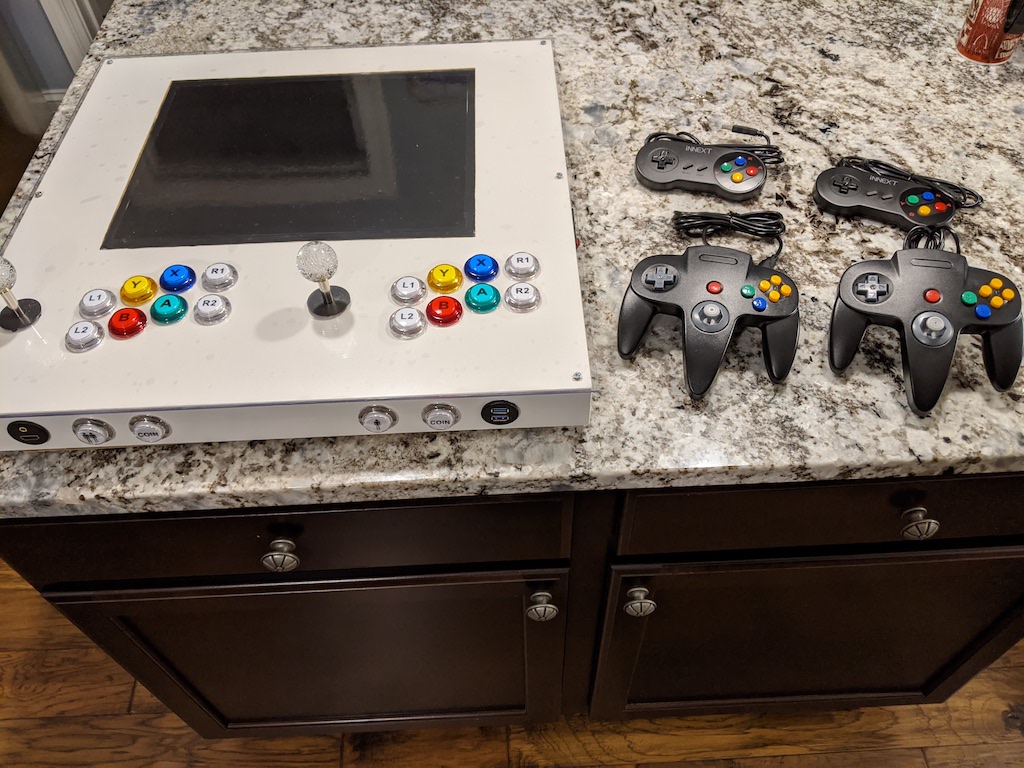
I purchased two of these USB Game Controller kits, which have a Super Nintendo and Nintendo 64 controller. I was able to sync them without issue to Retro Pie, and they work quite well. There are wireless controllers available, but I found wired USB typically was more reliable and easier to connect.
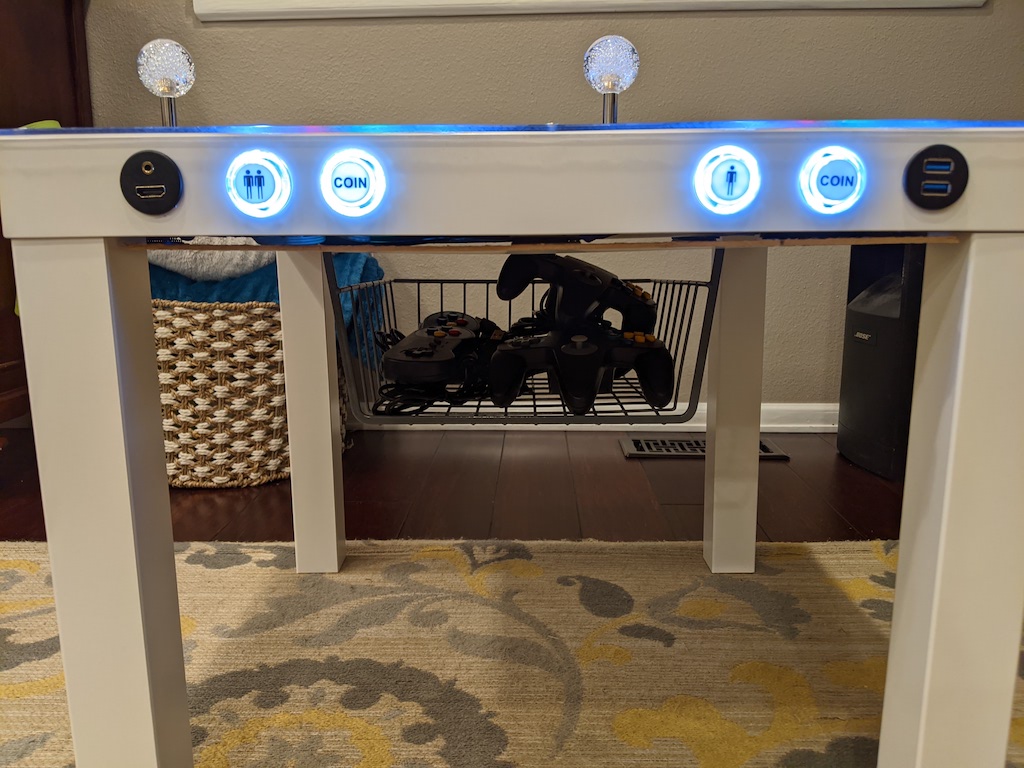
Towards the end, I added a small removable basket to the bottom to store the controllers. Any basket should work; it helped keep the wired controllers contained and a clean look for the table.
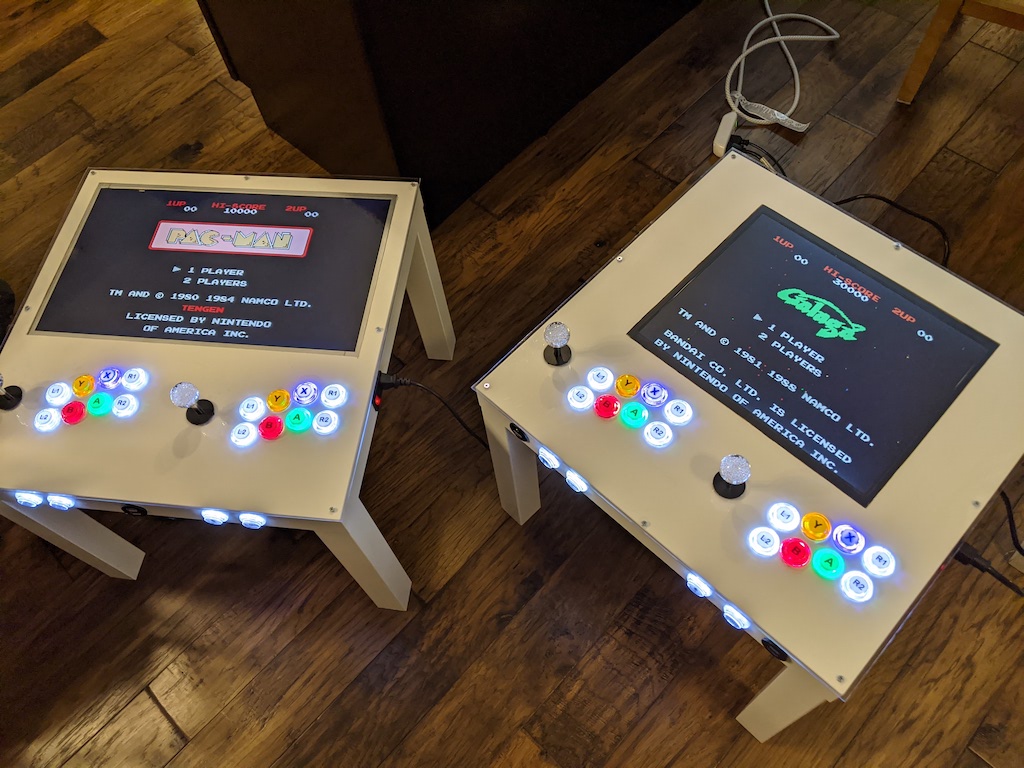
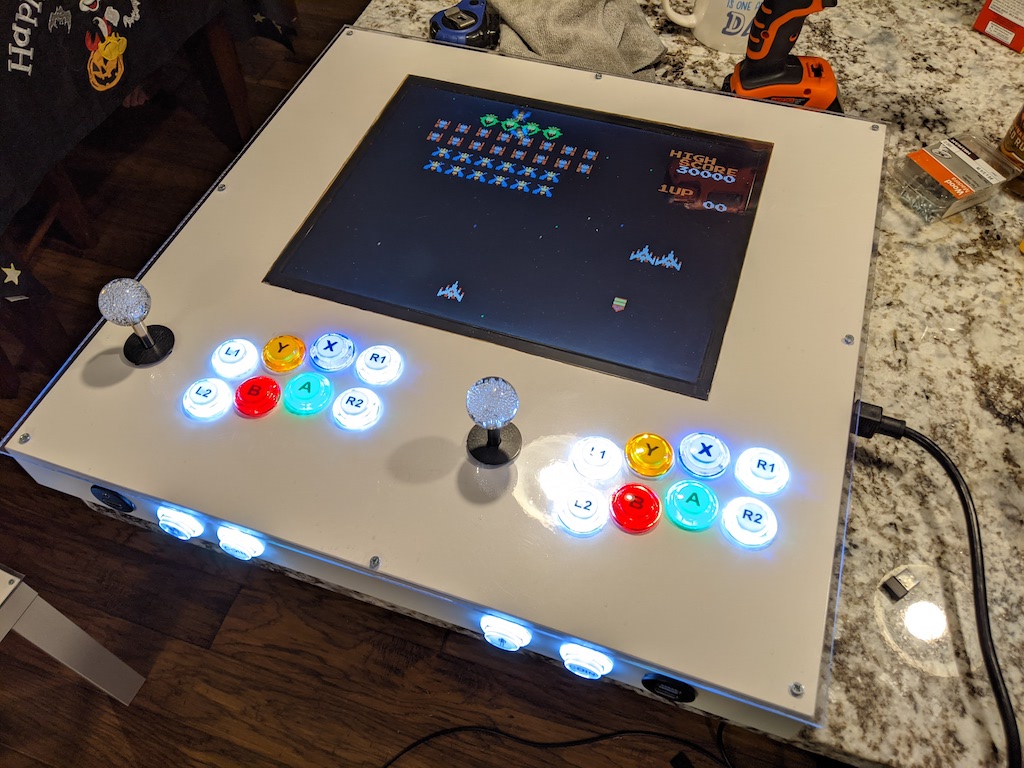
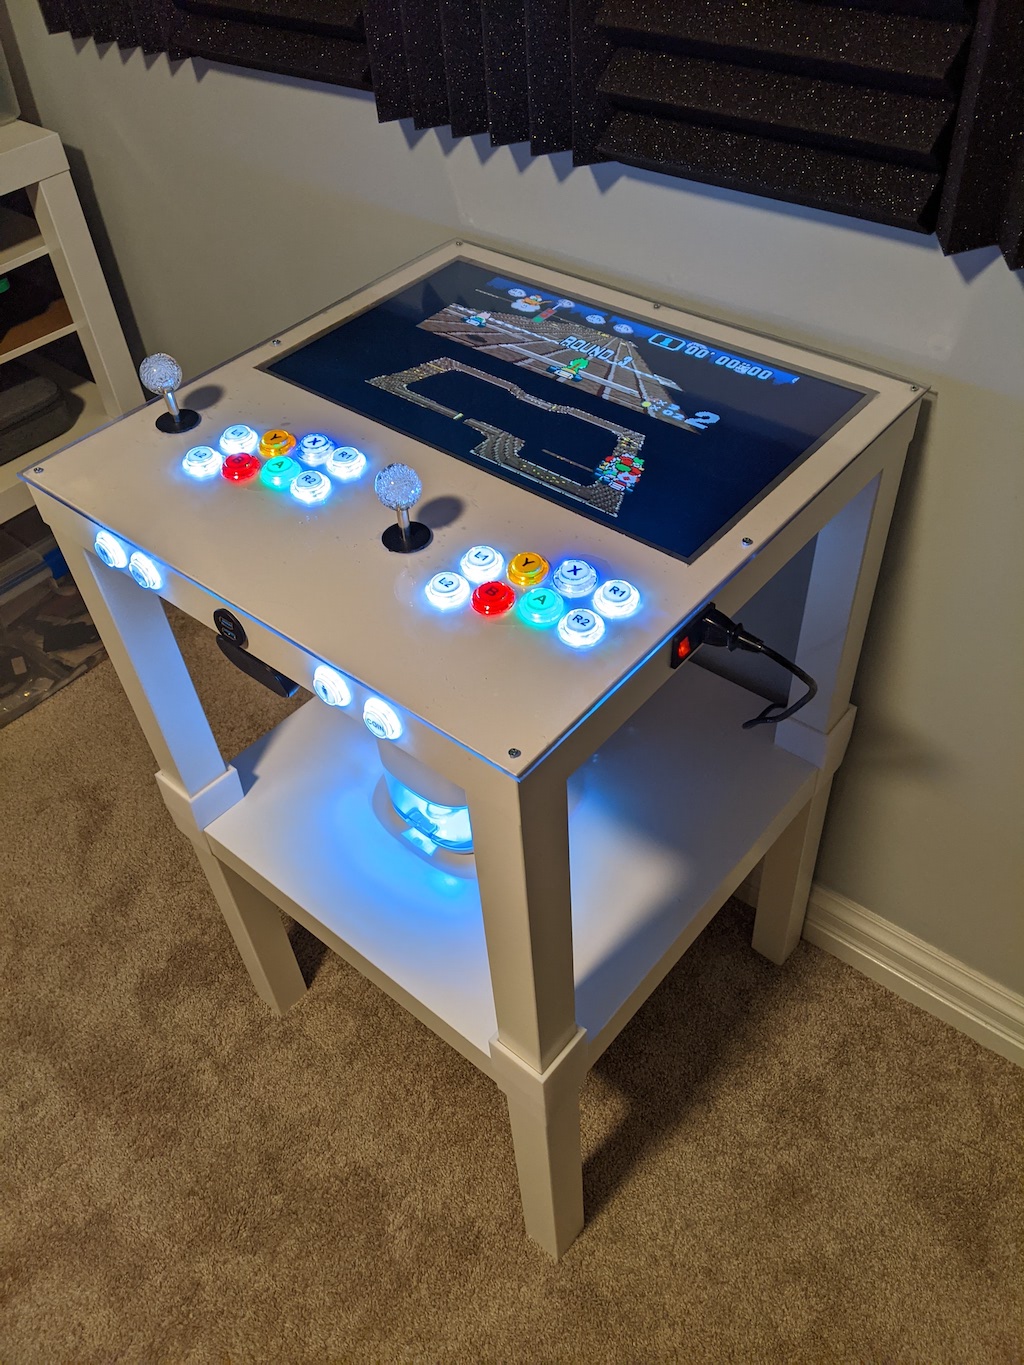
Final Output
The final result I was pretty happy with overall. Some of the biggest challenges were around the micro HDMI ports being very fragile. They tend to short easily, so I highly recommend being careful and not unplugging/plugging them infrequently. I'll continue to add additional updates to this post as I gather more of my past notes and make new mods.
Secondary Stack Risers
Recently I started getting into 3d printing and was able to print stacker blocks for the Ikea Lack table. This brings the arcade table to standing height and provides additional storage beneath. You can find all kinds of designs on Thingiverse.


%20--%3e)
%20--%3e)