
'%20xlink:href='%23a'/%3e%3cpath%20d='m135.005%20150.38%2032.955-33.75-32.965-62.93c-3.129-5.957-11.866-5.975-14.962%200l-17.613%2033.587v2.86l32.584%2060.233z'%20fill='%23f4bd62'/%3e%3cuse%20fill='%23ffa50e'%20fill-rule='evenodd'%20xlink:href='%23c'/%3e%3cuse%20filter='url(%23d)'%20xlink:href='%23c'/%3e%3cpath%20d='m0%20282.998.962-.968%203.496-1.42%20128.477-128%201.628-4.431-32.05-61.074z'%20fill='%23f6820c'/%3e%3cpath%20d='m139.121%20347.551%20116.275-64.847-33.204-204.495c-1.039-6.398-8.888-8.927-13.468-4.34l-208.724%20209.129%20115.608%2064.548a24.126%2024.126%200%200%200%2023.513.005'%20fill='%23fde068'/%3e%3cpath%20d='m254.354%20282.16-32.952-202.942c-1.03-6.35-7.558-8.977-12.103-4.424l-208.009%20207.806%20114.339%2063.908a23.943%2023.943%200%200%200%2023.334.006l115.392-64.355z'%20fill='%23fcca3f'/%3e%3cpath%20d='m139.12%20345.64a24.126%2024.126%200%200%201%20-23.512-.005l-114.677-63.62-.93.983%20115.607%2064.548a24.126%2024.126%200%200%200%2023.513.005l116.275-64.847-.285-1.752-115.99%2064.689z'%20fill='%23eeab37'/%3e%3c/svg%3e)
Fast and Secure Blogs with Firebase
This post we will cover how to make a blog using a static site generator called Jekyll and use Firebase a application backend service from Google. Firebase has many great tools for developers to use. One of them is their free static CDN hosting. Firebase hosting is a great way to host static files like JavaScript, CSS and HTML. This is great for single page apps that go well with their other services such as their real-time database.
We wont get into the details of all of the awesomness of Firebase but we will use the Hosting service. With Firebase hosting we can host our blog and even get a SSL certificate to secure our site for free. Now since our host is for static files it means they are really fast at downloading but it also means our site isn't dynamic or has a database. So we will use a static site generator.
Static site generators are great for sites that don't have content that changes often. Sites such as blogs or simple company sites work great with static site generators. One of the most popular static site generators is called Jekyll.
Jekyll is designed specifically for blogs. There are many different static site generators with various pros and cons but we will start with Jekyll.
Installation Jekyll
To start we will need to download Jekyll. To install and create a new project run the following commands: If you are running windows there is a little more installation work you can read about here.
gem install jekyll
jekyll new my-awesome-site
cd my-awesome-site
jekyll serve
Now that we have created our site lets run it locally by running jekyll serve. Now you should see something similar to this:
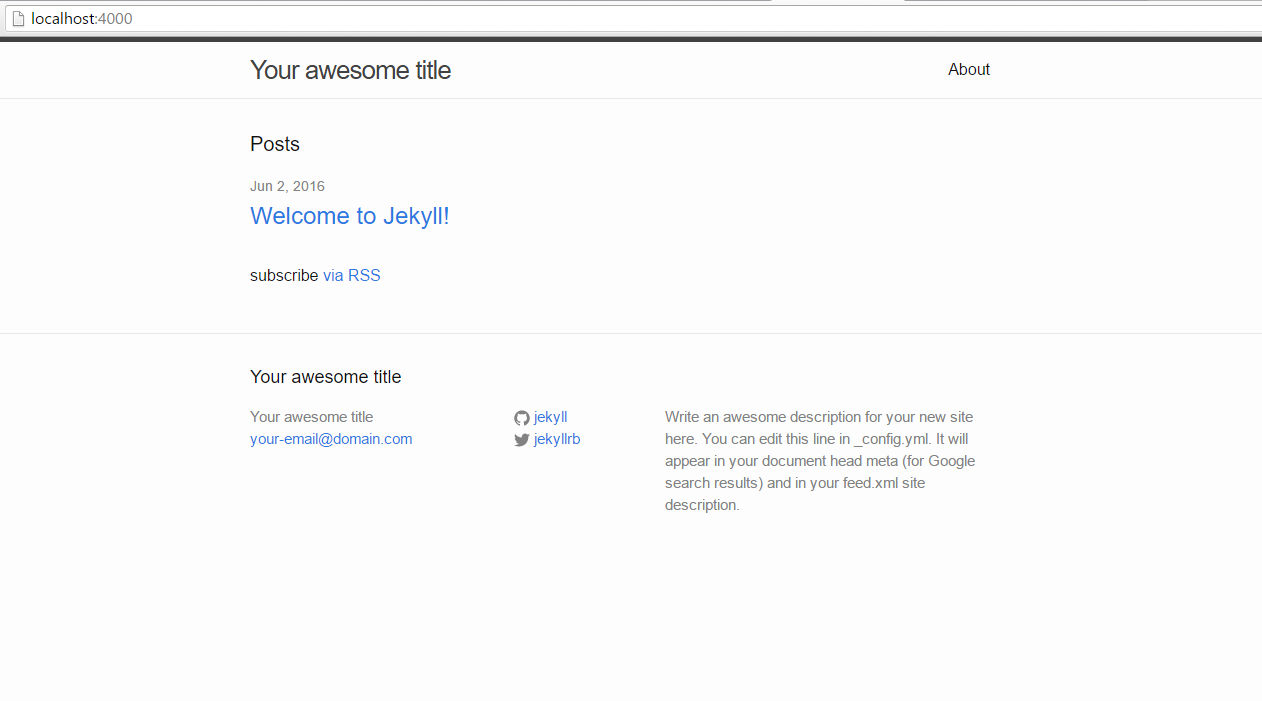
Jekyll has a built-in templating system that allows us to create reusable templates and use markdown files for our blog posts. I won't go into the details of how Jekyll all works but I recommend checking out the getting started page on the Jekyll docs. To prepare our blog for deployment we will run one last command jekyll build. This will generate our site and place it into the _site directory. Note, any static site generator will work great with Firebase Hosting.
Deploying with Firebase
Jekyll is commonly used with Github but using Firebase Hosting we get some added benefits such as SSL certificates, ultra fast CDN, and URL redirect support. So now that we have our blog built lets set up a new Firebase app.
If you don't already have an account sign up for a free Firebase account at firebase.google.com. Once you are signed up head over to the app console.
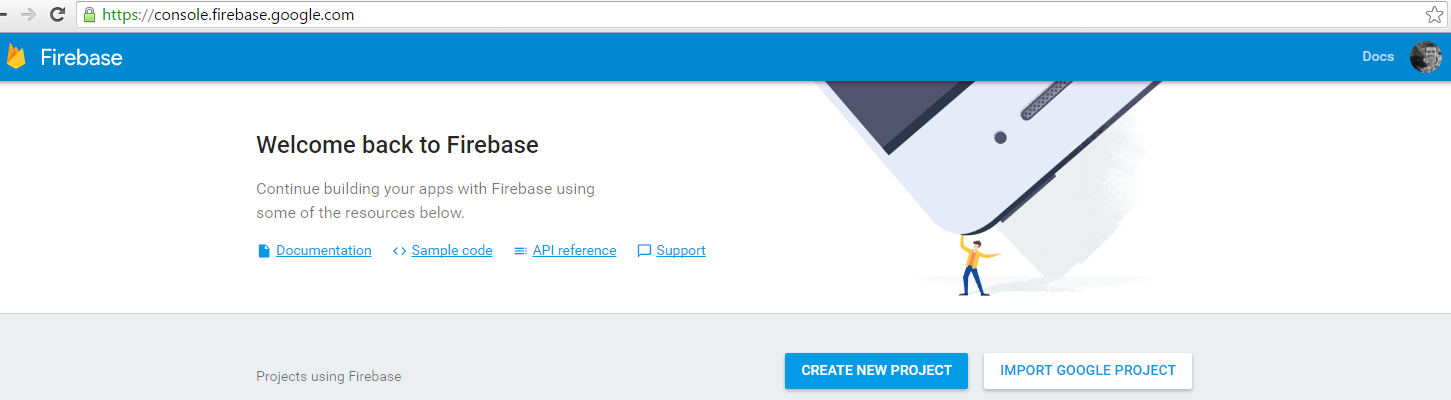
Select "Create New Project" and give your project a name. Now we will deploy our site. To deploy we will need to install the Firebase CLI tool. To install make sure to have the latest NodeJS installed and then run npm install -g firebase-tools. Now that Firebase Tools are installed we can run firebase init inside our website project.
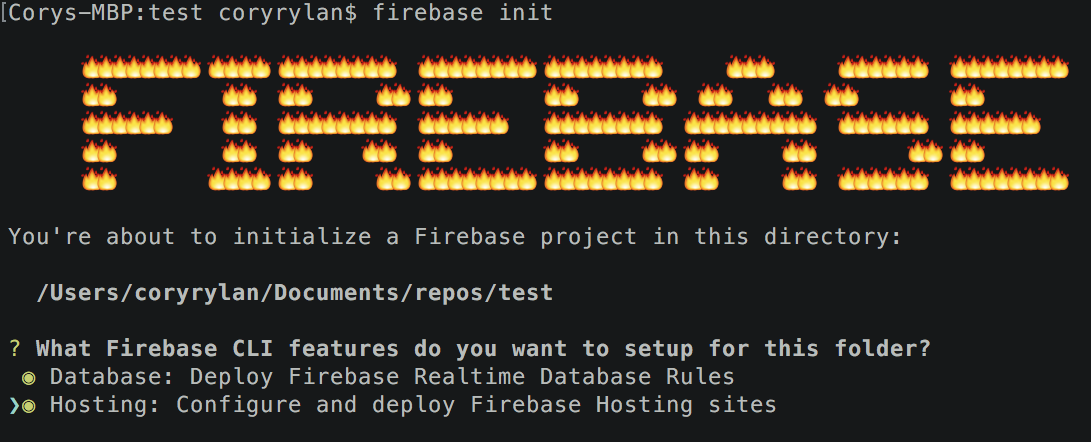
Firebase will guide through a few setup options. First we want to select the hosting option to deploy to. Next it will ask about our database rules, we can leave the default for now. Next it will ask what directory to use to use to deploy the static file from. We will enter _site. This is where Jekyll generates and adds all of our websites static files.
Next the CLI will ask if we would like to set up redirects for single page app sites. We wont need this for our site. Last the CLI will ask which project you would like to use so we will select the project we created in the Firebase website console.
Now that our project is all set up we can simply run firebase deploy to deploy our code to our Firebase host. You should be able to see your live blog with the Firebase subdomain generated for you in the CLI.
Custom Domain
In the Firebase console go to your newly created project and select the hosting tab on the right. Now select the Custom Domain button. You should see something similar to this:
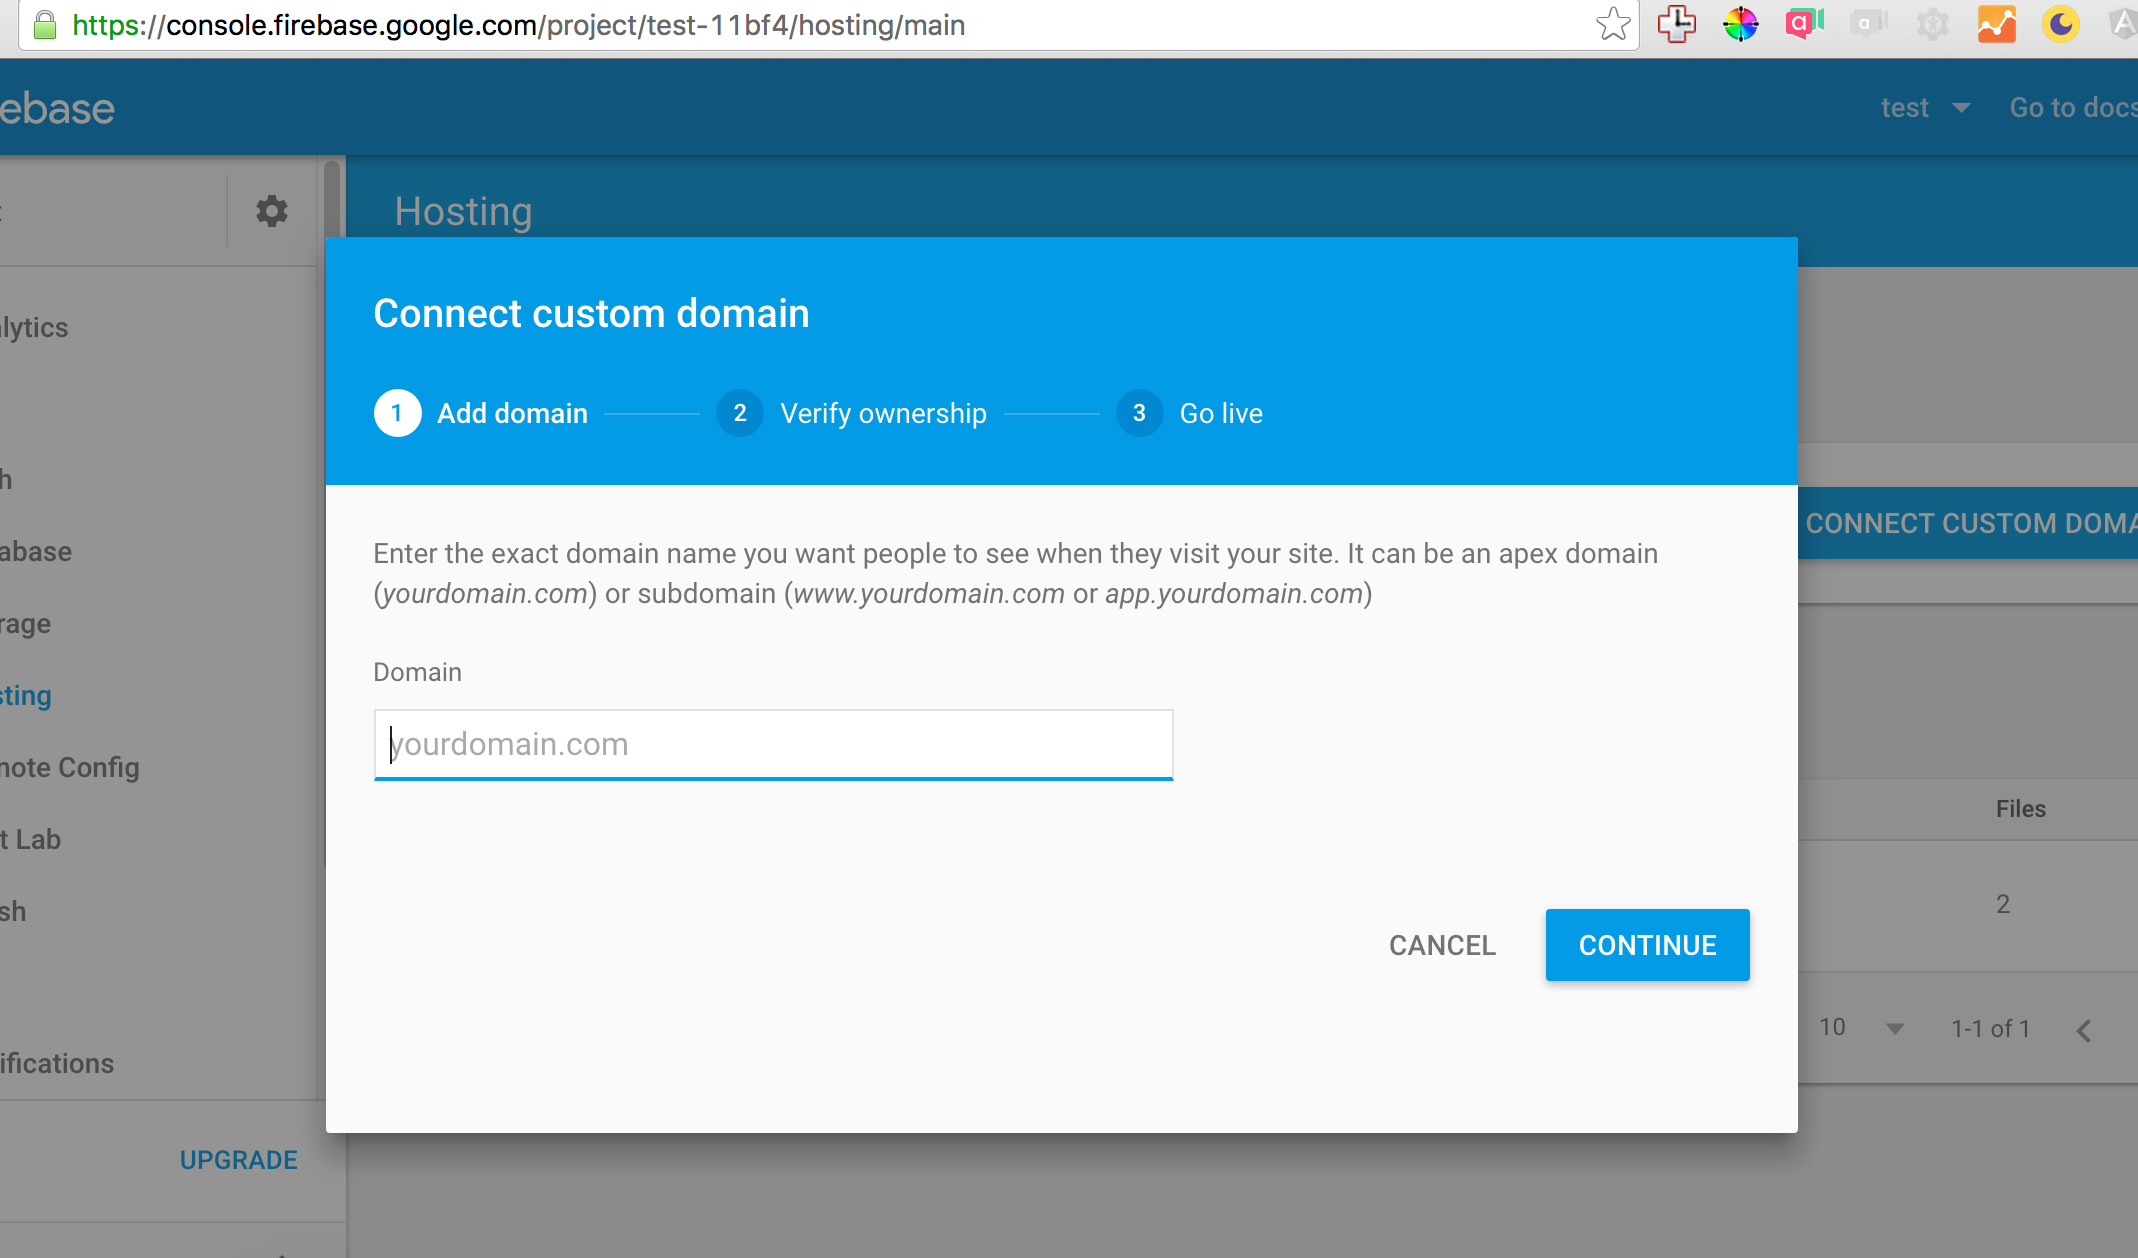
Now follow the steps and add your Domain information and Firebase will automatically partition a SSL certificate for your domain for free. Now you have a fast, free and secure blog built on Firebase and Jekyll!


%20--%3e)
%20--%3e)